
How to Make Greek-Style Yogurt in the Instant Pot (Using Raw Milk)

If you’ve ever found yourself staring at an abundance of fresh milk in your fridge and wondering how to use it all before it turns… you’re not alone. When you have access to real, fresh milk—especially raw milk—you quickly realize just how valuable it is. And one of the very best ways to use that extra milk?
Homemade yogurt.
Around here, yogurt isn’t a “sometimes” food—it’s a staple. We use it for breakfast, snacks, baking, marinades, and even as a substitute for sour cream. Once you start making your own, it’s hard to go back.
Today I’m going to walk you through exactly how we make thick, creamy Greek-style yogurt using our skim milk (that’s milk with the cream removed). And if you’ve got an Instant Pot sitting on your counter, you’re already halfway there.
Why Use Raw Milk for Yogurt?
Let’s start here—because this matters.
Raw milk is packed with natural enzymes, beneficial bacteria, and nutrients that are often diminished or destroyed in conventional processing. When you turn it into yogurt, you’re not only preserving those benefits—you’re actually enhancing them through fermentation.
That means:
Better gut health
Easier digestion
Increased bioavailability of nutrients
A rich source of probiotics
It’s one of the simplest ways to take an already incredible food and make it even more nourishing.
Why We Use Skim Milk (and Go Greek-Style)
When we make yogurt, we typically use skim milk—milk that has had the cream separated off.
Why?
Because we’re usually using that cream elsewhere (hello, butter, ice cream, and coffee cream 😄), and skim milk actually makes a fantastic yogurt. It’s lighter, tangier, and when strained, it turns into a thick, rich Greek-style yogurt that still feels indulgent.
Greek yogurt simply means the yogurt has been strained to remove excess whey. The result is:
Thicker texture
Higher protein content
Less sugar (lactose)
A creamy, spoonable consistency
And honestly? Once you try homemade Greek yogurt, store-bought just doesn’t compare. (not to mention the leftover whey can be used for whey lemonade - recipe coming soon!)
What You’ll Need
1/2 gallon raw skim milk
2 tablespoons plain yogurt with live cultures (your starter)
Instant Pot with yogurt function
Thermometer (optional but helpful)
Cheesecloth or a clean flour sack towel
Strainer
Step-by-Step: Making Yogurt in the Instant Pot
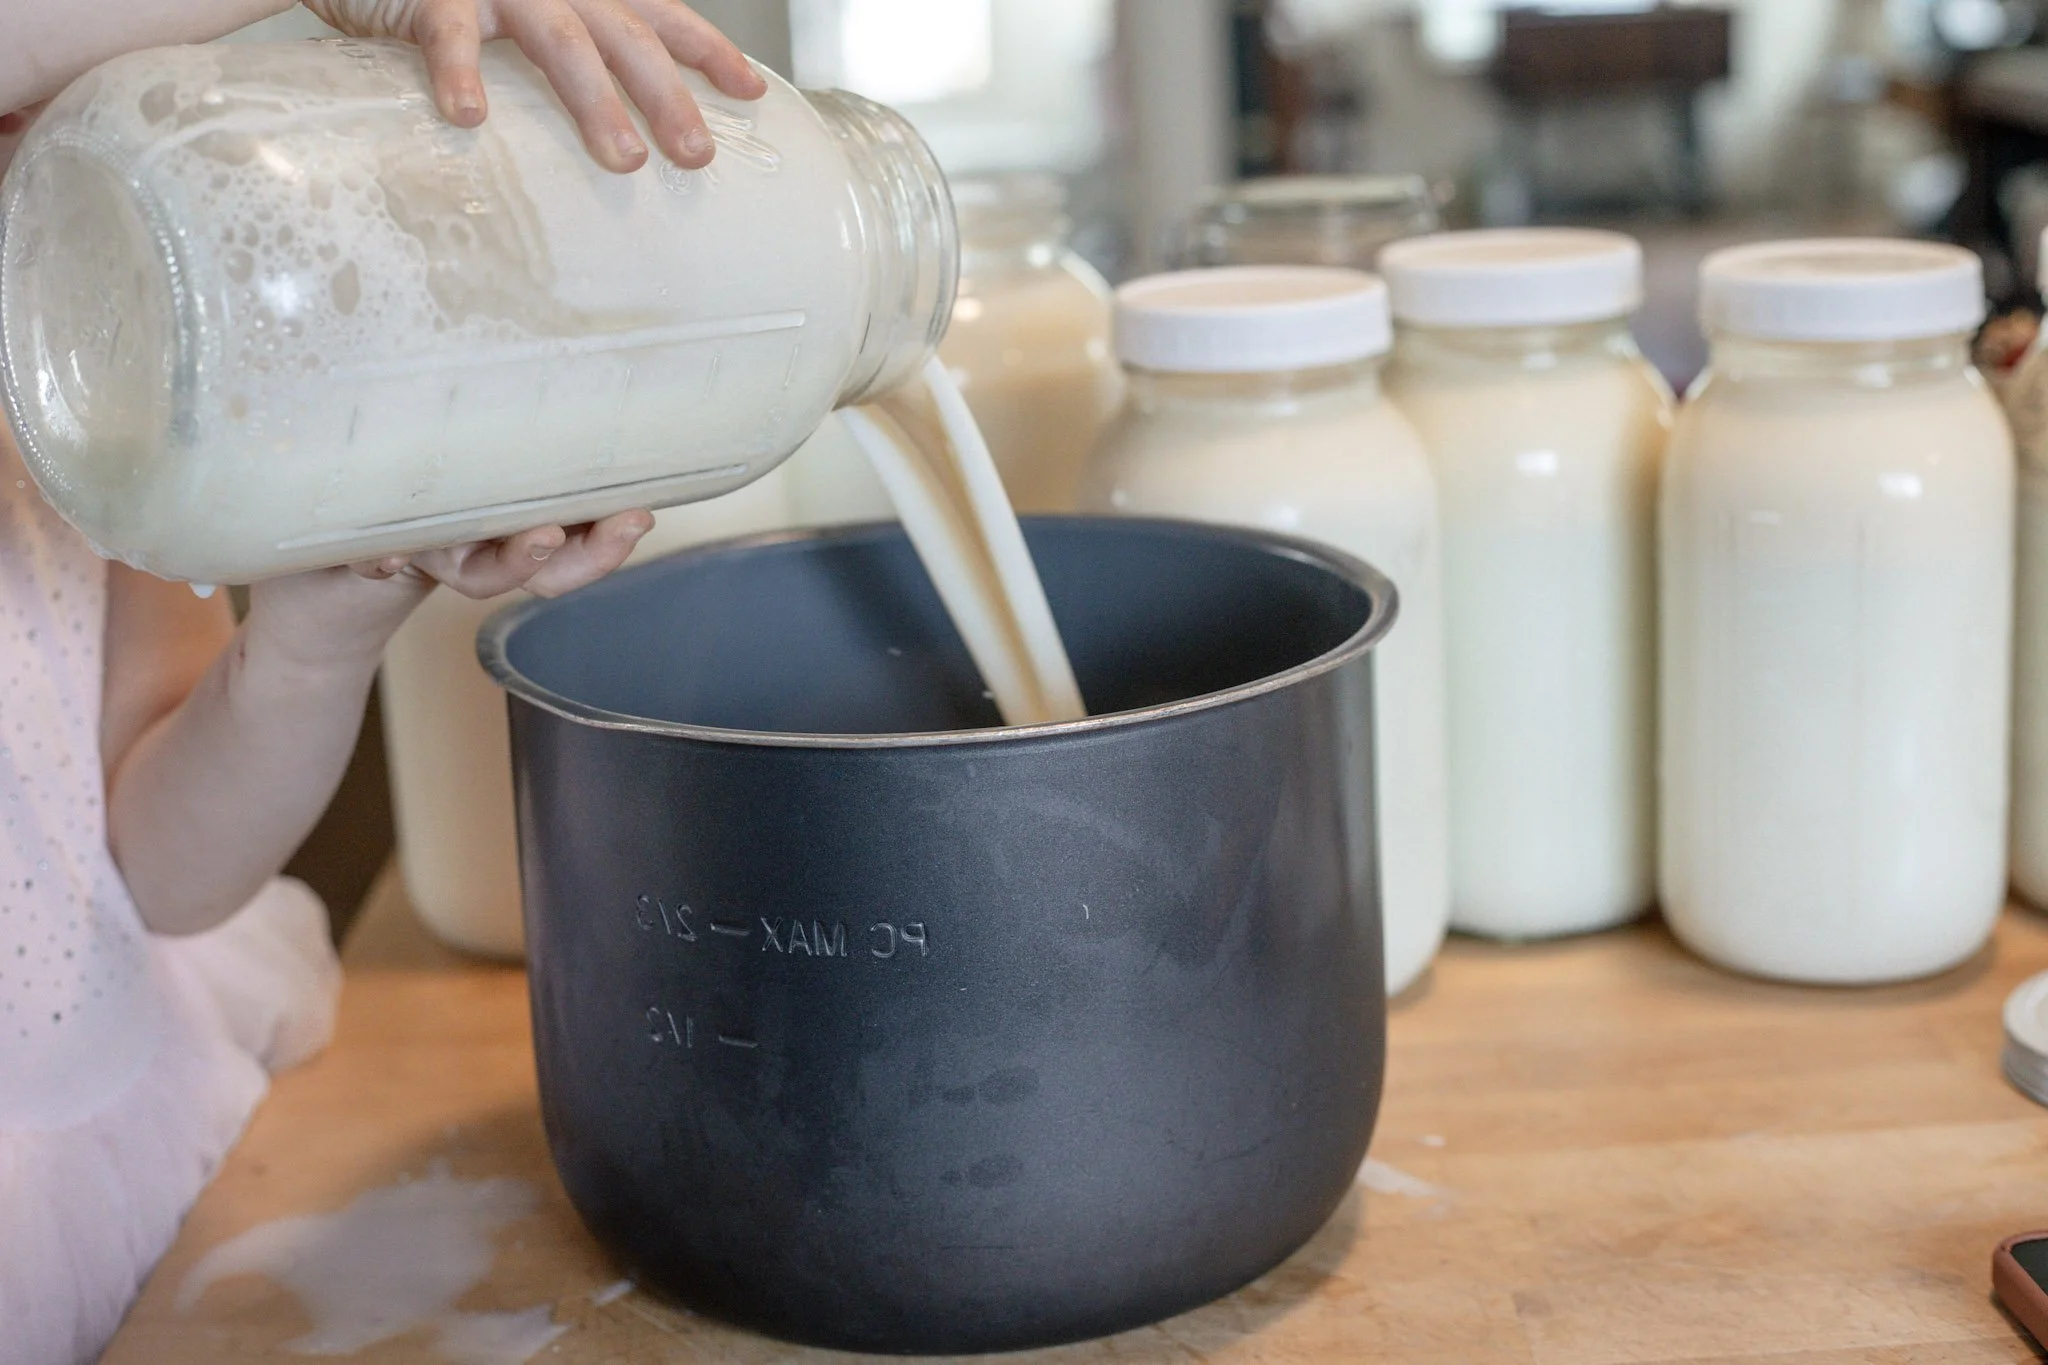
1. Heat the Milk
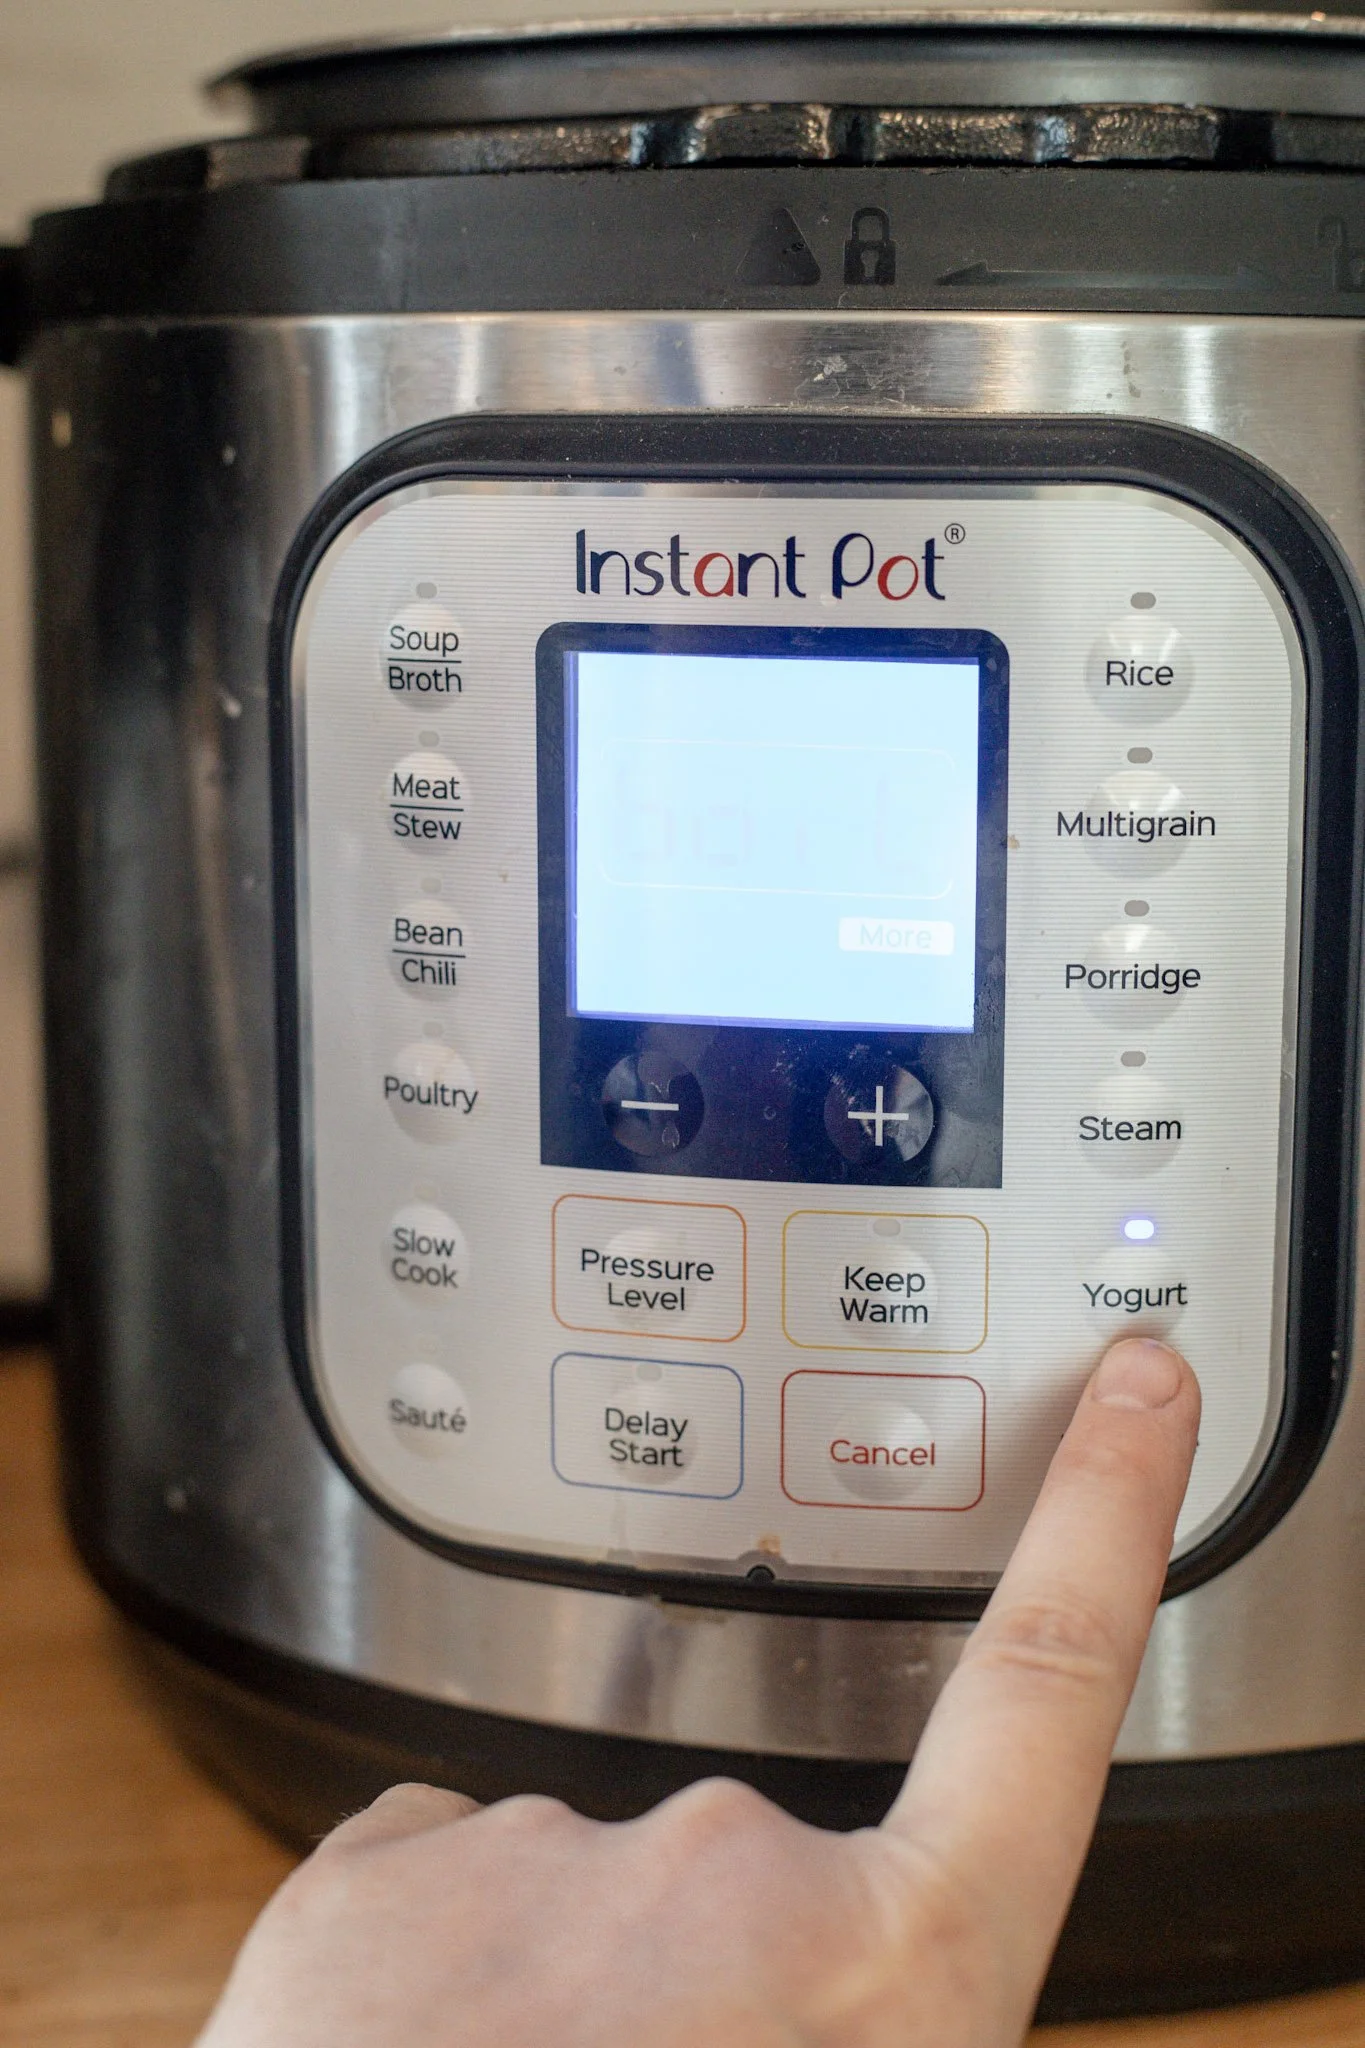
Pour your milk into the Instant Pot and press the “Yogurt” button until it reads “Boil.”
This step heats the milk to around 180°F. It helps denature the proteins so your yogurt sets up properly.
Once it’s done, remove the lid and let it cool.
2. Cool the Milk
You want the milk to cool down to about 110–115°F.
If it’s too hot, it will kill your starter culture. Too cool, and it won’t ferment properly.
You can speed this up by placing the inner pot in a sink of cool water, or just let it sit on the counter.
3. Add Your Starter
Take a small amount of the cooled milk and mix it with your 2 tablespoons of yogurt starter in a separate bowl.
Then stir that mixture back into the pot.
This helps evenly distribute the cultures.
4. Incubate
Put the lid back on and press the “Yogurt” button again. Set the time for 8–12 hours.
8 hours = milder flavor
12 hours = tangier yogurt
We usually land somewhere around 10 hours.
Then… leave it alone. No peeking, no stirring.
5. Chill
Once it’s done, transfer the yogurt to the fridge for a few hours to fully set.
At this point, you have regular yogurt.
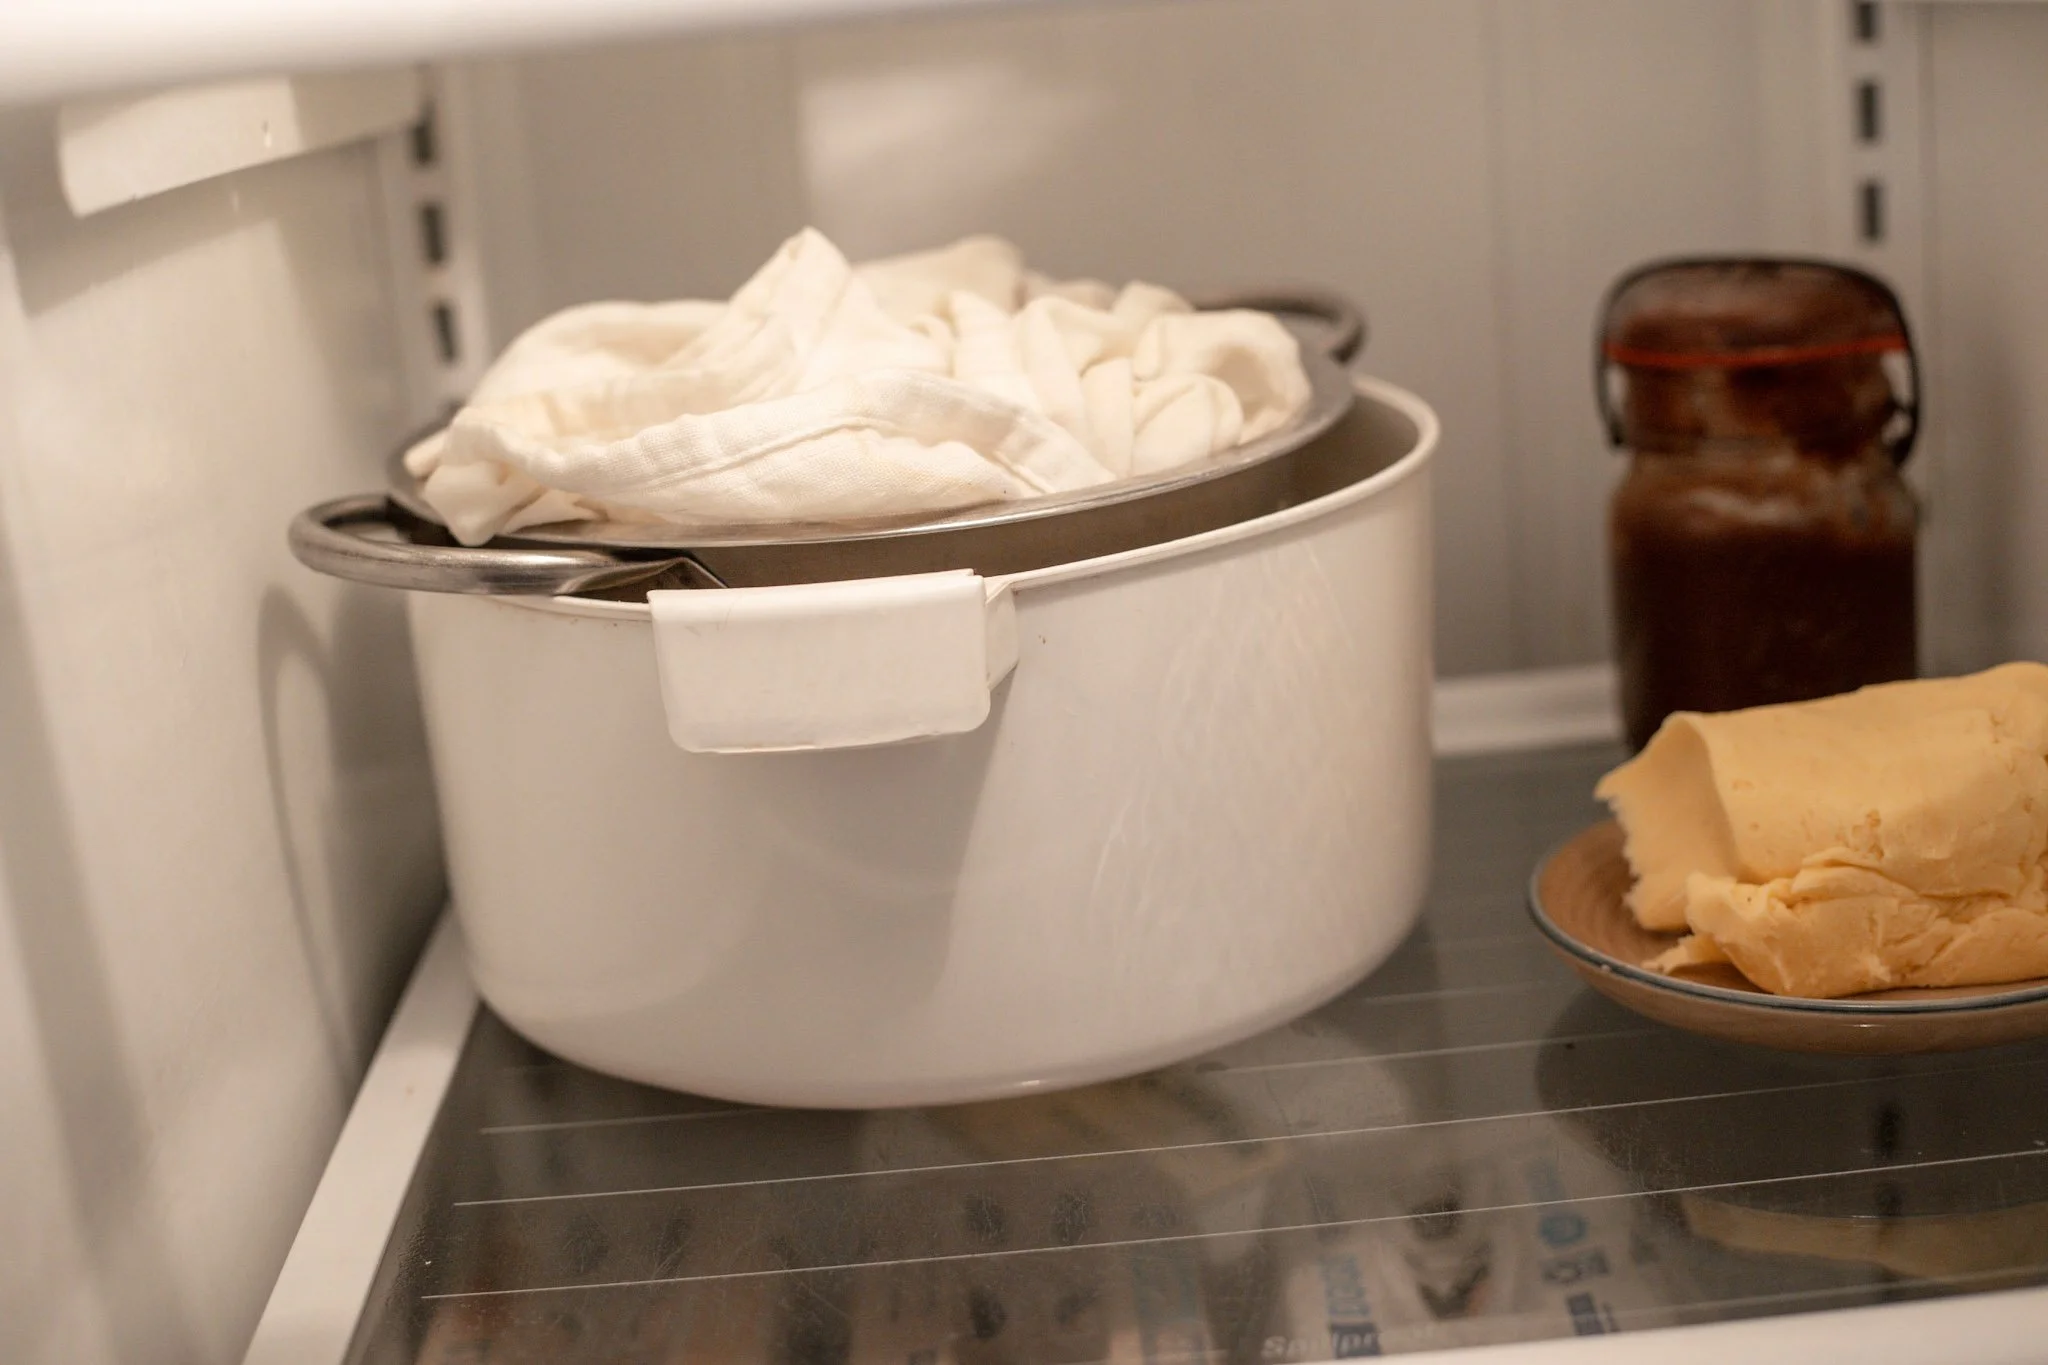
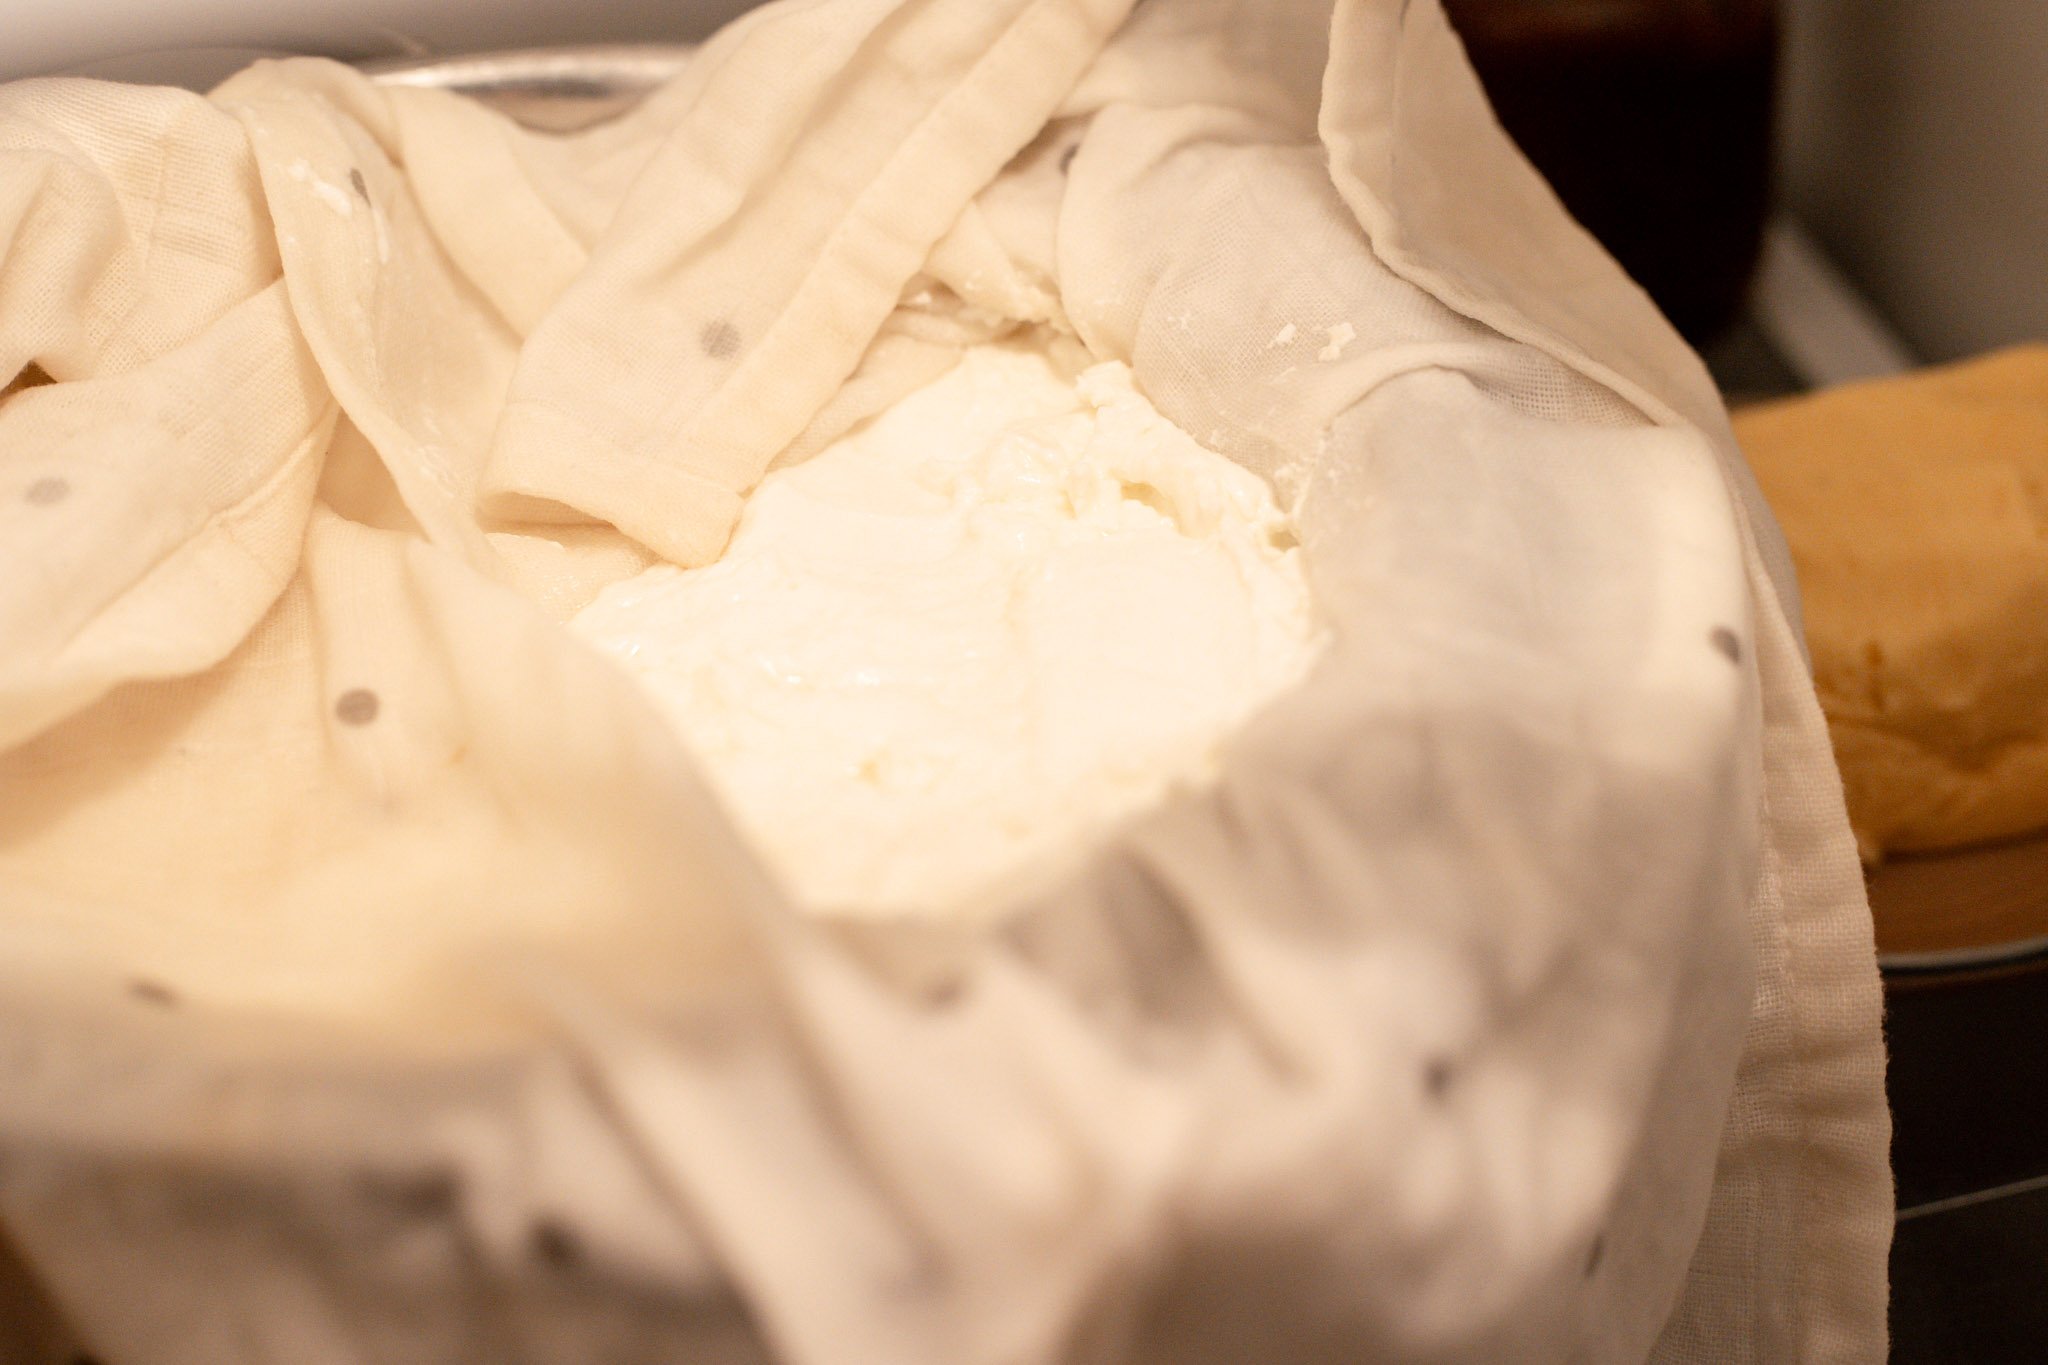
6. Strain for Greek Yogurt
To make it Greek-style, line a strainer with cheesecloth or a towel and pour the yogurt in.
Let it strain in the fridge for 2–4 hours (or longer, depending on how thick you want it).
The liquid that drains off is whey—don’t toss it! You can use it in smoothies, baking, or even for your animals.
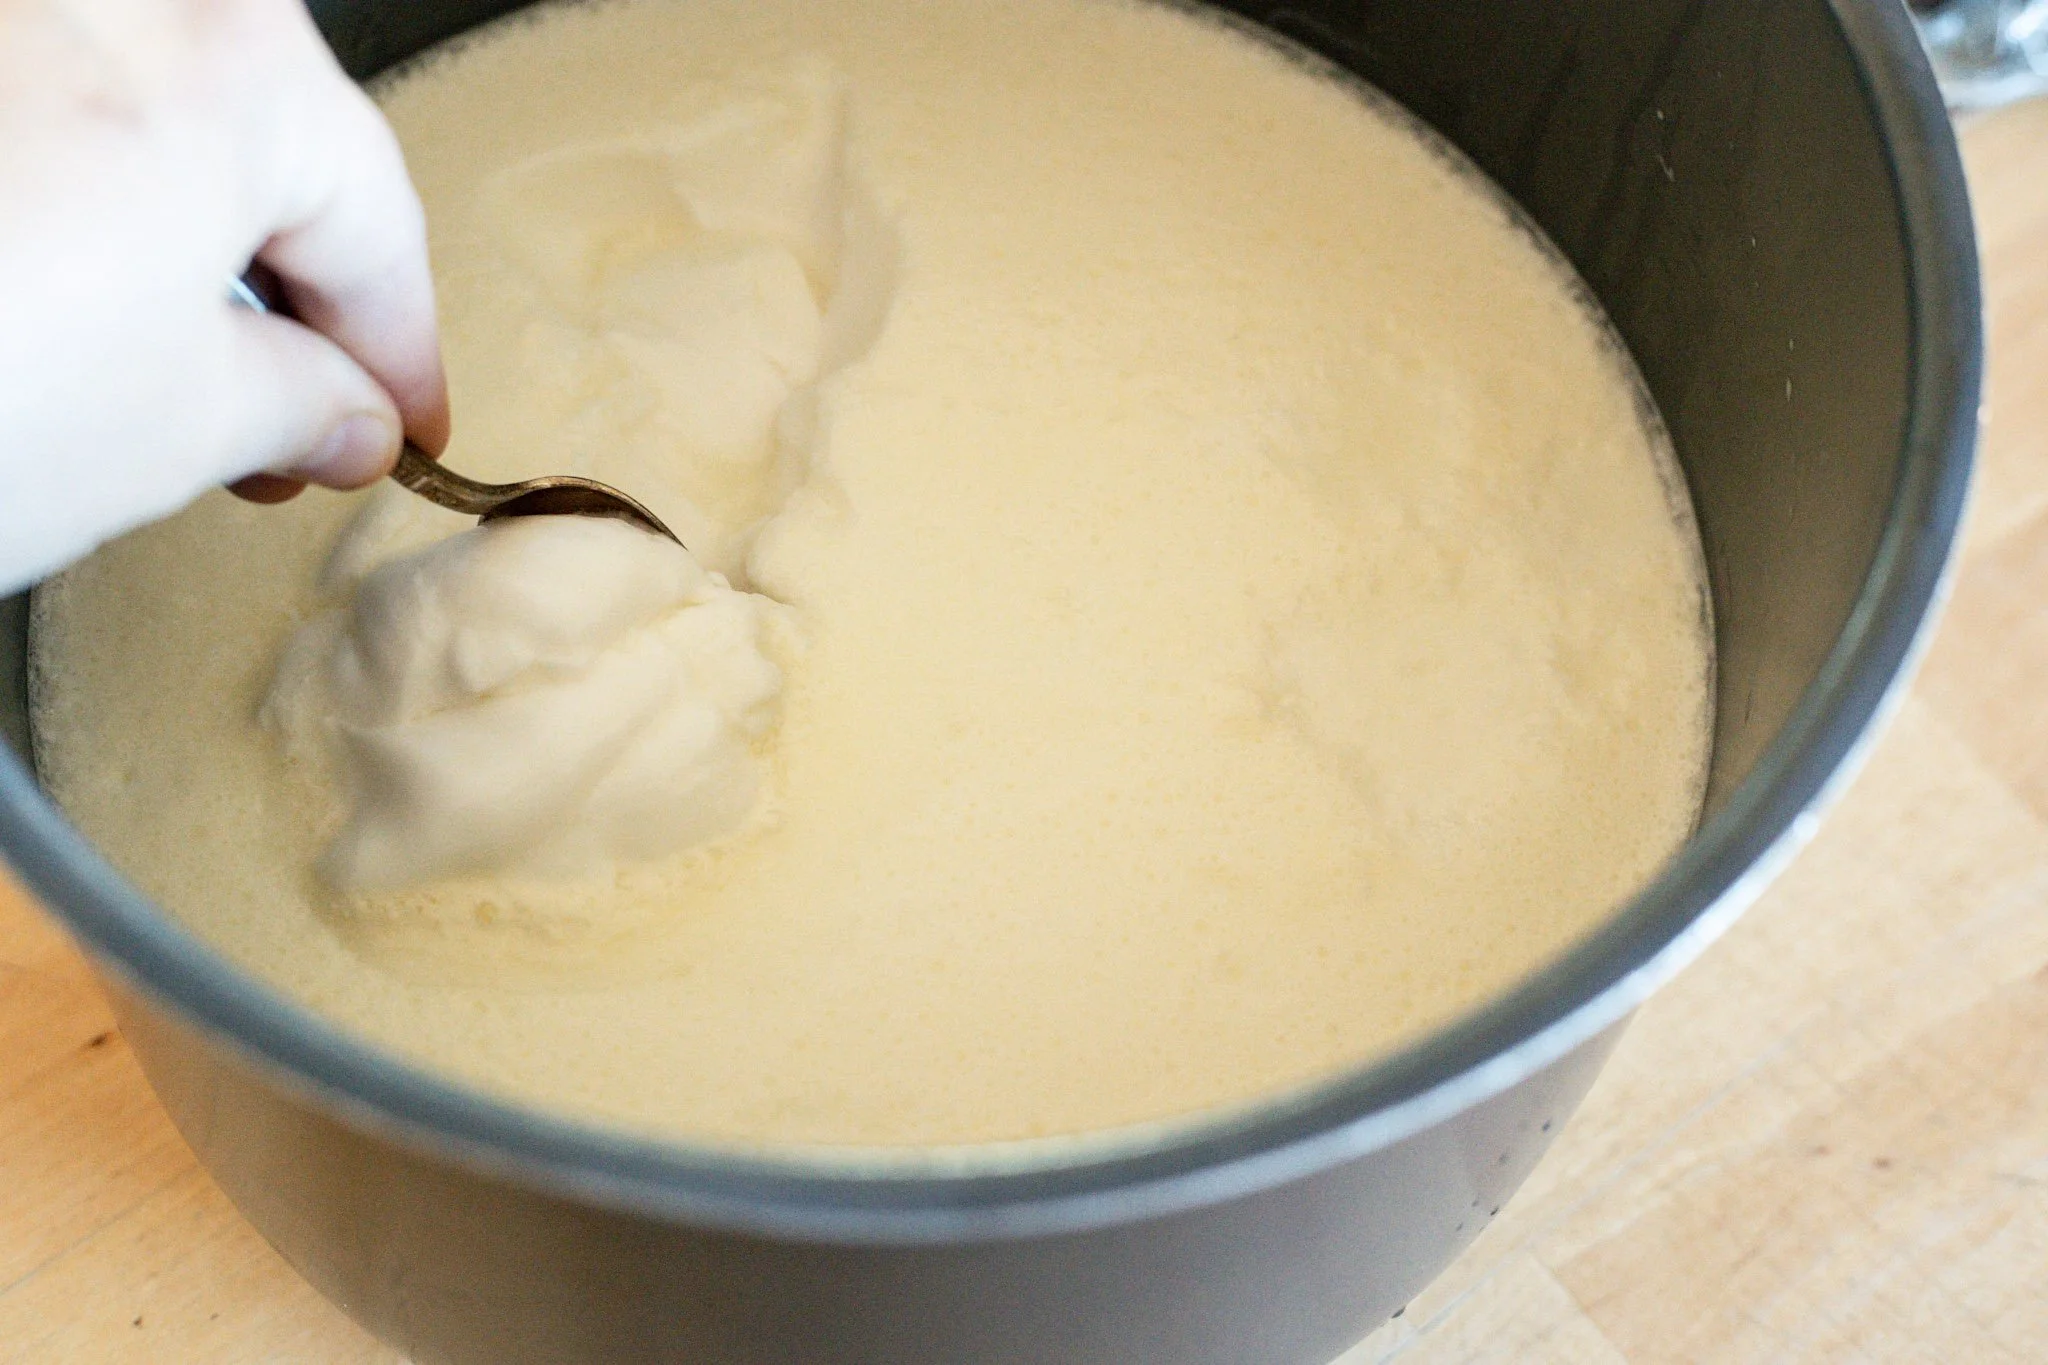
What You End Up With
Thick, creamy, slightly tangy yogurt that:
Holds its shape on a spoon
Is packed with protein
Has zero additives, fillers, or mystery ingredients
Just real food.
How We Use Yogurt in Our Home
This is where it really shines.
We use it:
With honey and fruit for breakfast
In smoothies
As a base for dips and dressings
In baking (it makes amazing muffins)
As a substitute for sour cream
It’s one of those foods that quietly becomes part of everything.
The Nutritional Benefits (Why It’s Worth It)
Homemade yogurt isn’t just delicious—it’s incredibly nourishing.
You’re getting:
Probiotics that support gut health
High-quality protein
Calcium and phosphorus for bone health
B vitamins for energy and metabolism
And because it’s made from your own milk, you know exactly where it came from and how it was handled.
That kind of transparency matters.
Making the Most of Your Milk
If you’re investing in high-quality milk—especially raw milk—it just makes sense to use it fully.
Yogurt is one of the easiest, most practical ways to stretch your supply, reduce waste, and create something your whole family will actually eat.
It’s simple, it’s cost-effective, and once you get into the rhythm of it, it becomes second nature.
Coming Soon: Our Herd Share
If you’re reading this and thinking, “I wish I had access to milk like this…”
We’ve got good news.
We’re getting very close to opening our Herd Share to the community. This means you’ll be able to legally and consistently access fresh milk straight from our farm—milk you can trust, from animals you can see, raised the right way.
And if making things like yogurt, butter, or other homemade staples is something you’ve been wanting to try, this is your chance.
We’ll be opening a limited number of shares, and they will go quickly.
So if you want first dibs, make sure you’re signed up for our newsletter. That’s where we’ll be announcing all the details and opening registration.
Final Thoughts
Making your own yogurt might sound intimidating at first—but it’s honestly one of the simplest, most rewarding things you can do in your kitchen.
And once you start, don’t be surprised if it becomes a weekly habit.
Because there’s just something about turning fresh milk into something this good… that never gets old.