The last recipe I shared here on the blog was our delicious homemade Greek-style yogurt (yum!), and today I'm excited to share another one of my favorite from-scratch recipes using our fresh dairy products.
This recipe is a true staple in our home: homemade butter.
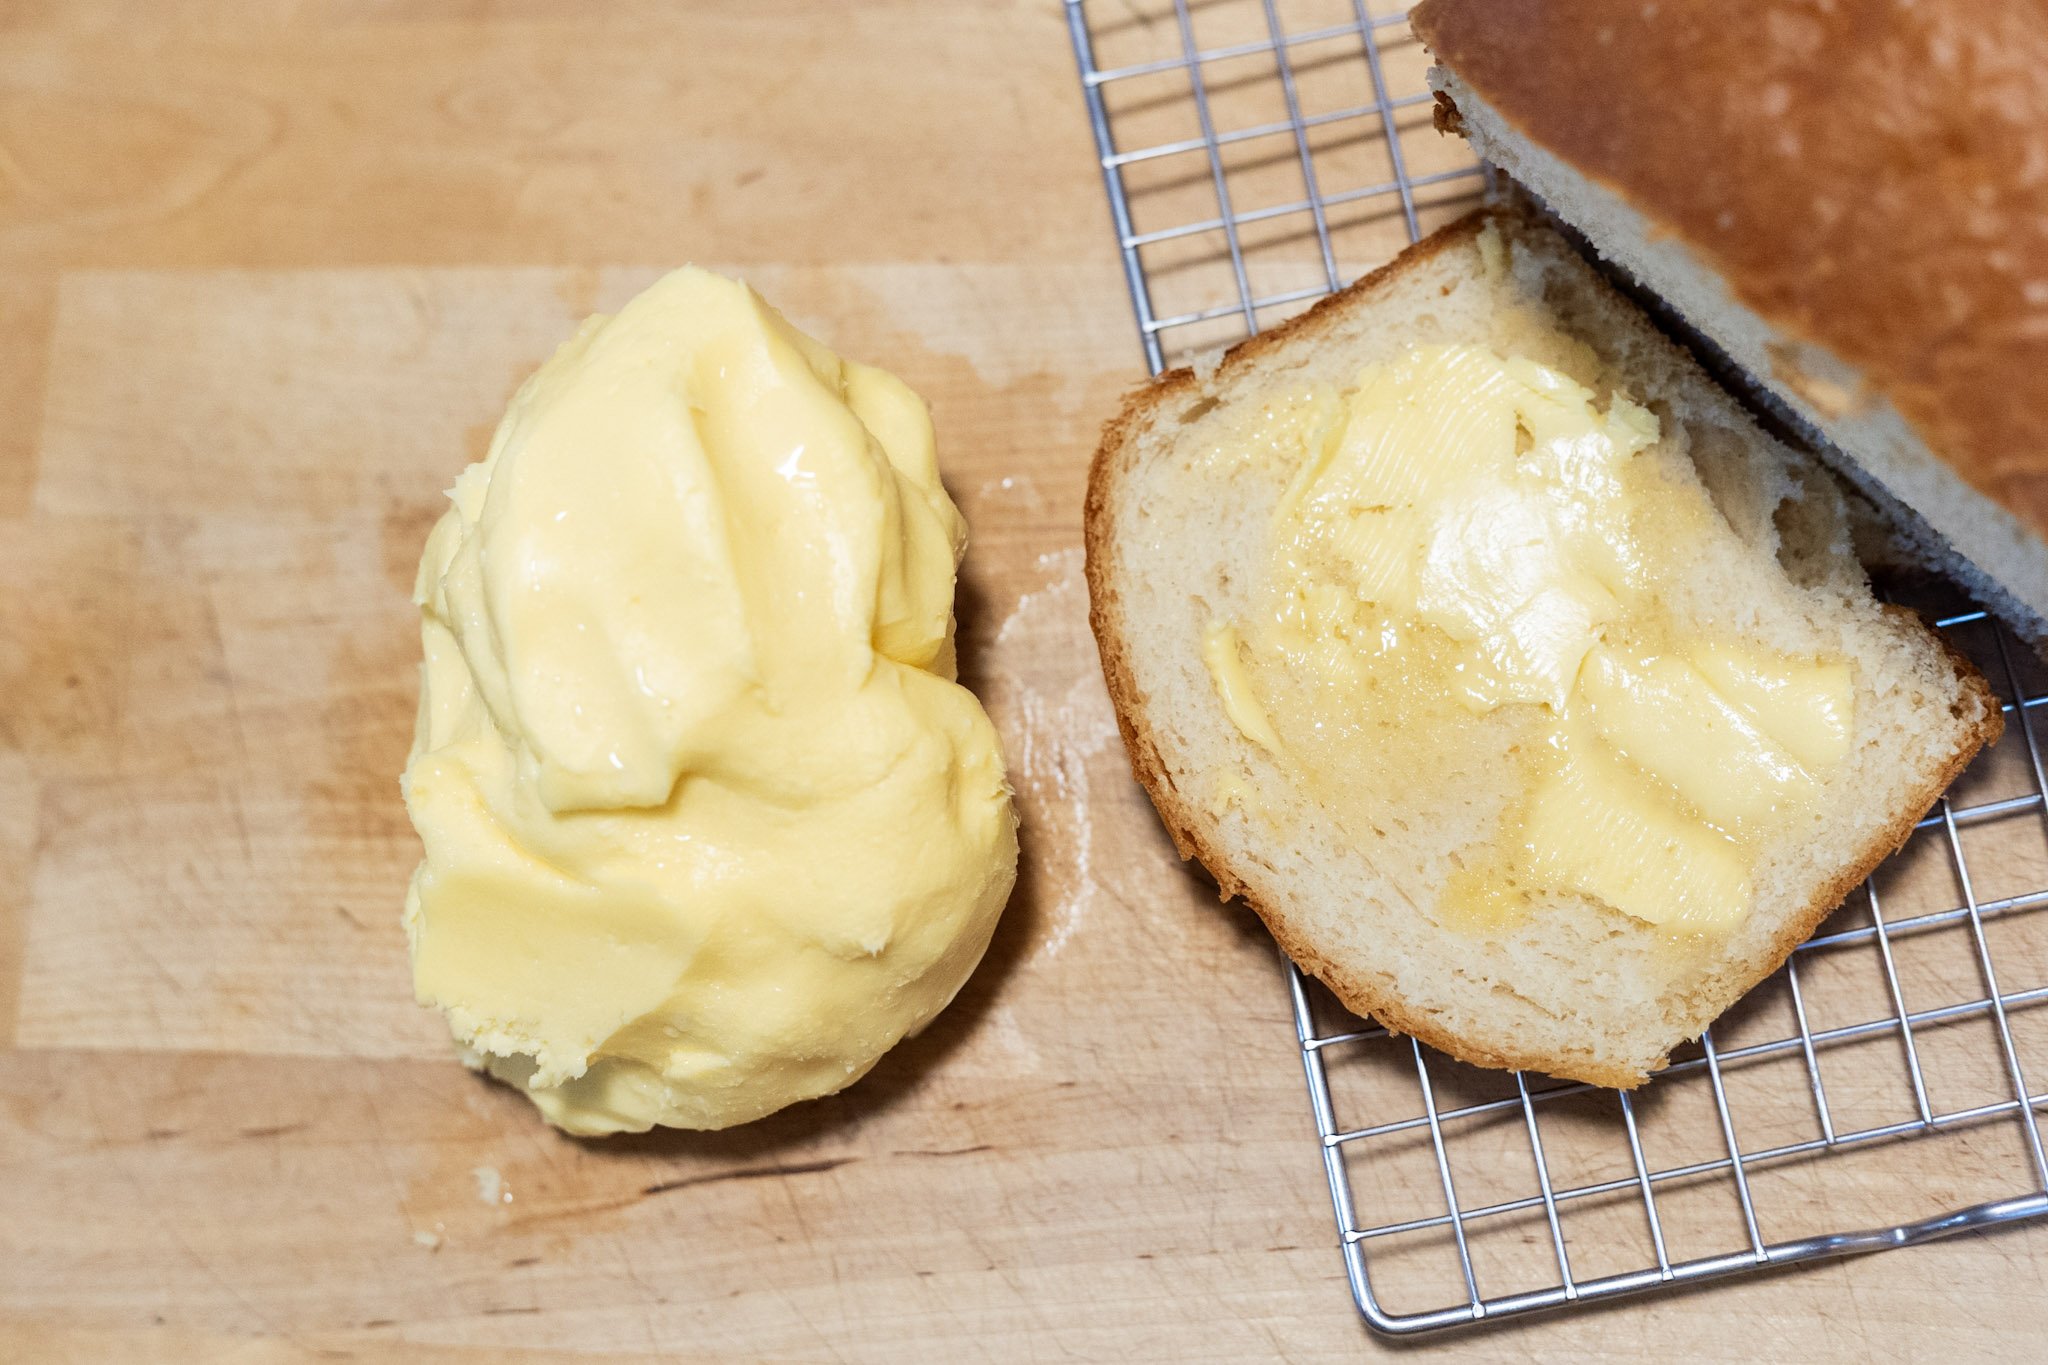
After all, everything is better with butter! And in my opinion, nothing compares to fresh, golden butter made from rich Jersey cream. With two milk cows currently in milk, we're certainly not short on cream around here, which means we make plenty of butter. It's surprisingly simple, incredibly rewarding, and tastes so much better than anything you'll find at the grocery store.
If you've ever wondered how to make butter from raw milk, I'll walk you through exactly how I do it.
What You'll Need
The beauty of homemade butter is that it requires very little.
You'll need:
Heavy cream
A mixer, blender, food processor, or even a jar with a tight-fitting lid
Ice-cold water
Salt (optional but highly recommended)
If you're using our cream-line raw milk, the cream is easy to find. As the milk sits, the cream naturally rises to the top, creating a distinct line between the rich cream and the milk below.
To collect it, I simply use a small gravy ladle and gently skim the cream from the top. I usually continue until I begin seeing little blue streaks from the milk underneath. At that point, I know I've collected about as much cream as I can without taking too much milk with it.
Optional: Make Cultured Butter
Before you start churning, there's one optional step that can add even more flavor.
If you'd like to make cultured butter, stir a spoonful of plain yogurt into your cream and leave it covered on the counter overnight. The beneficial bacteria culture the cream, giving the finished butter a richer, slightly tangy flavor. Many people also find that cultured cream churns a little faster than fresh cream.
This step is completely optional, but it's fun to try if you've never made cultured butter before.
Churning the Butter
Once your cream is ready, pour it into your churning vessel of choice.
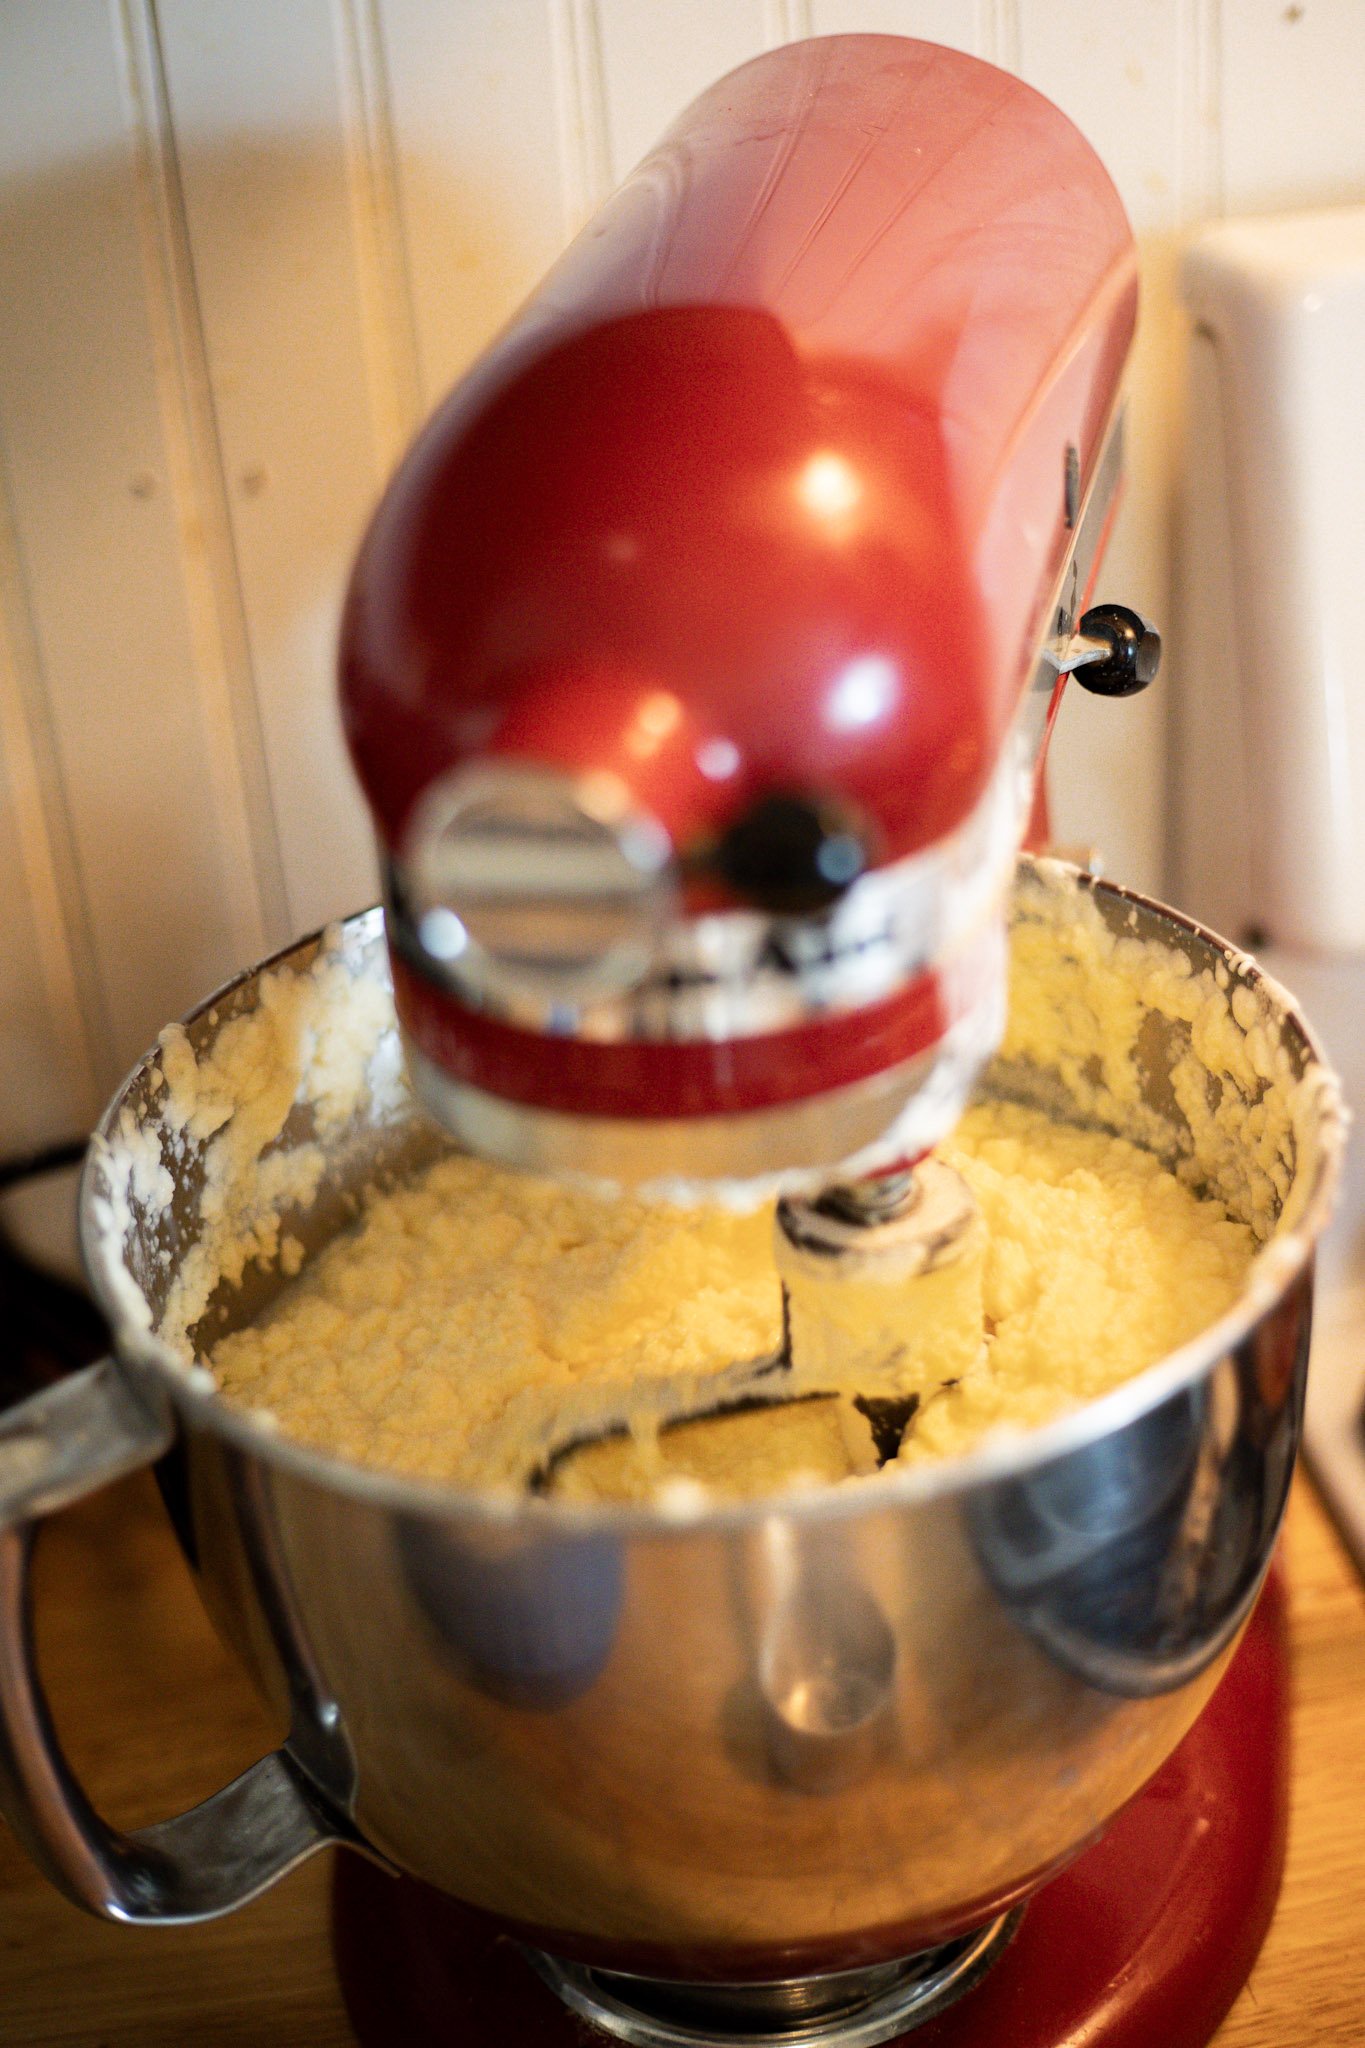
Personally, I use my KitchenAid mixer because it's the easiest method for the larger batches I make. I've also used a blender with good success. You can even make butter by shaking cream in a mason jar, although I only recommend that if you're making a very small batch—it works, but you'll definitely get an arm workout!
The amount of cream you start with determines how long the process will take. I usually churn about a half gallon of cream at a time, which yields roughly one pound of butter.
As the cream churns, you'll notice it moving through several stages.
First, it becomes light and frothy. Then it thickens into whipped cream. Keep mixing! Eventually, that whipped cream will begin looking grainy and clumpy. It may even seem like you've done something wrong, but don't stop—that's exactly what you want.
Soon you'll see the butterfat begin separating from the liquid. Continue mixing, and before long you'll have a large golden ball of butter floating in a pool of fresh buttermilk.
One word of warning: if you're using a stand mixer like I do, don't walk away! Once the butter separates, the buttermilk can splash everywhere in a matter of seconds. Ask me how I know!
Rinsing the Butter
Once your butter has formed, strain off the buttermilk and save it—you'll definitely want it for baking.
Next comes one of the most important steps: rinsing the butter.
Place the butter under ice-cold water and gently work it with your hands or a spatula, changing the water several times until it runs completely clear.
This step removes any remaining buttermilk trapped inside the butter. If buttermilk is left behind, it can cause your butter to spoil much more quickly. Taking a few extra minutes to rinse it thoroughly will help your homemade butter stay fresh much longer.
Salting and Storing
After rinsing, I always salt my butter.
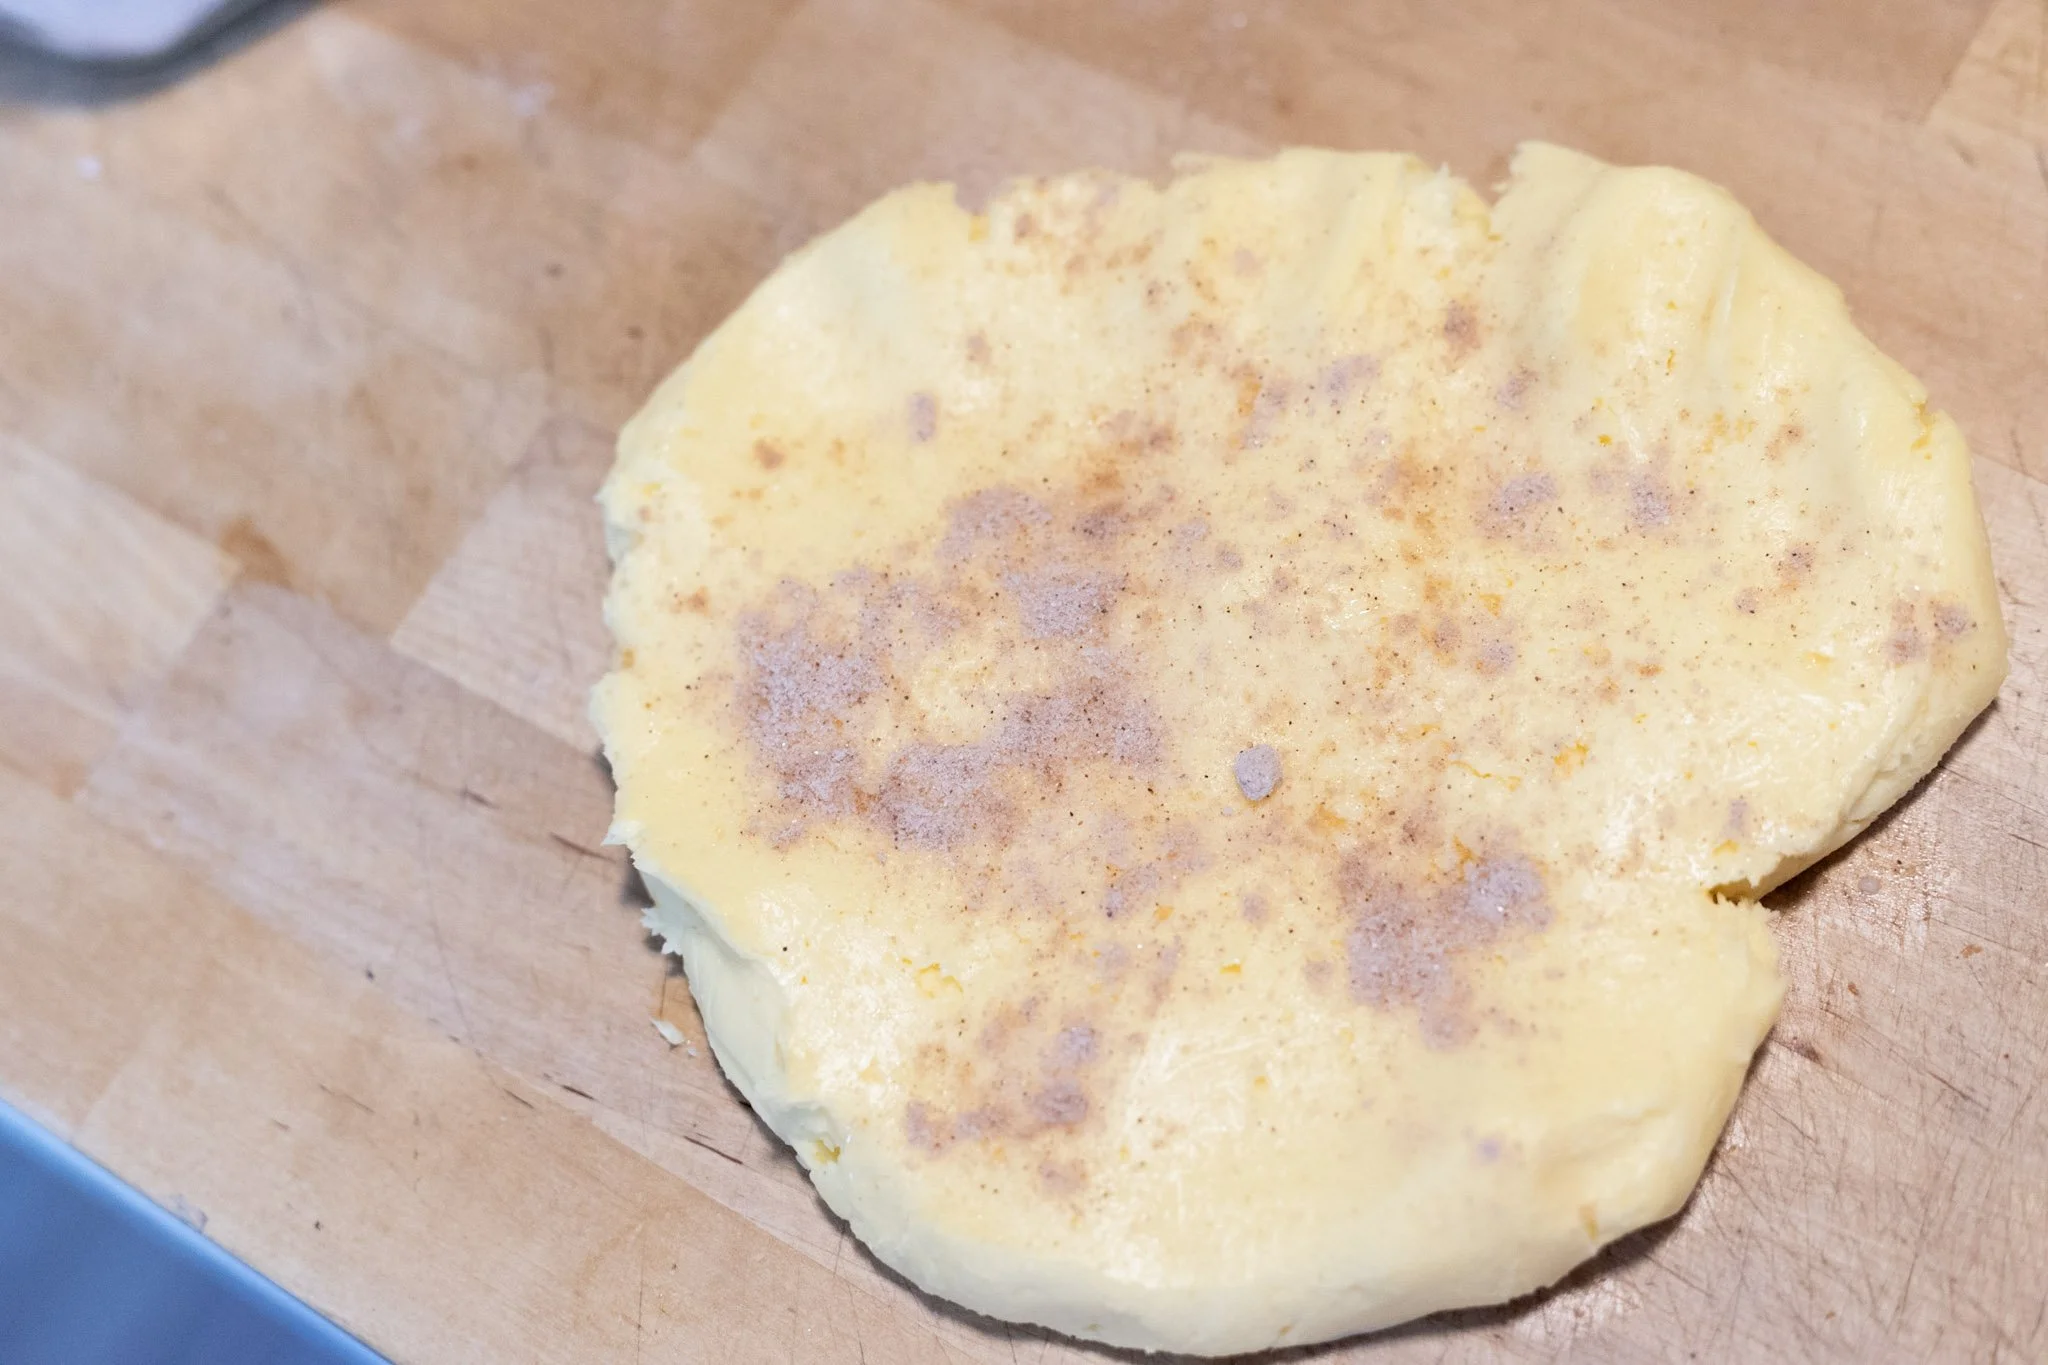
I simply sprinkle in salt and knead it into the butter on my countertop until it's evenly incorporated. You can certainly leave it unsalted if you prefer, but we love the flavor that a little salt adds.
For storage, I usually roll the butter into logs using parchment paper before placing them in the freezer. I'll also keep one log in the refrigerator for everyday use.
In my experience, butter made from raw cream doesn't seem to last quite as long as store-bought butter, but honestly, that's never been much of a problem around here—it disappears pretty quickly!
Fresh Butter Is Worth the Effort
There is something incredibly satisfying about turning fresh cream into homemade butter. It's one of those old-fashioned kitchen skills that feels almost magical the first time you experience it.
The flavor is rich, the color is beautifully golden, and knowing exactly where it came from makes every slice of homemade bread taste even better.
If you've been wanting to try making butter from scratch, this is your sign. We always have fresh cream-line raw milk stocked in our self-serve milk fridge, making it easy to gather everything you need.
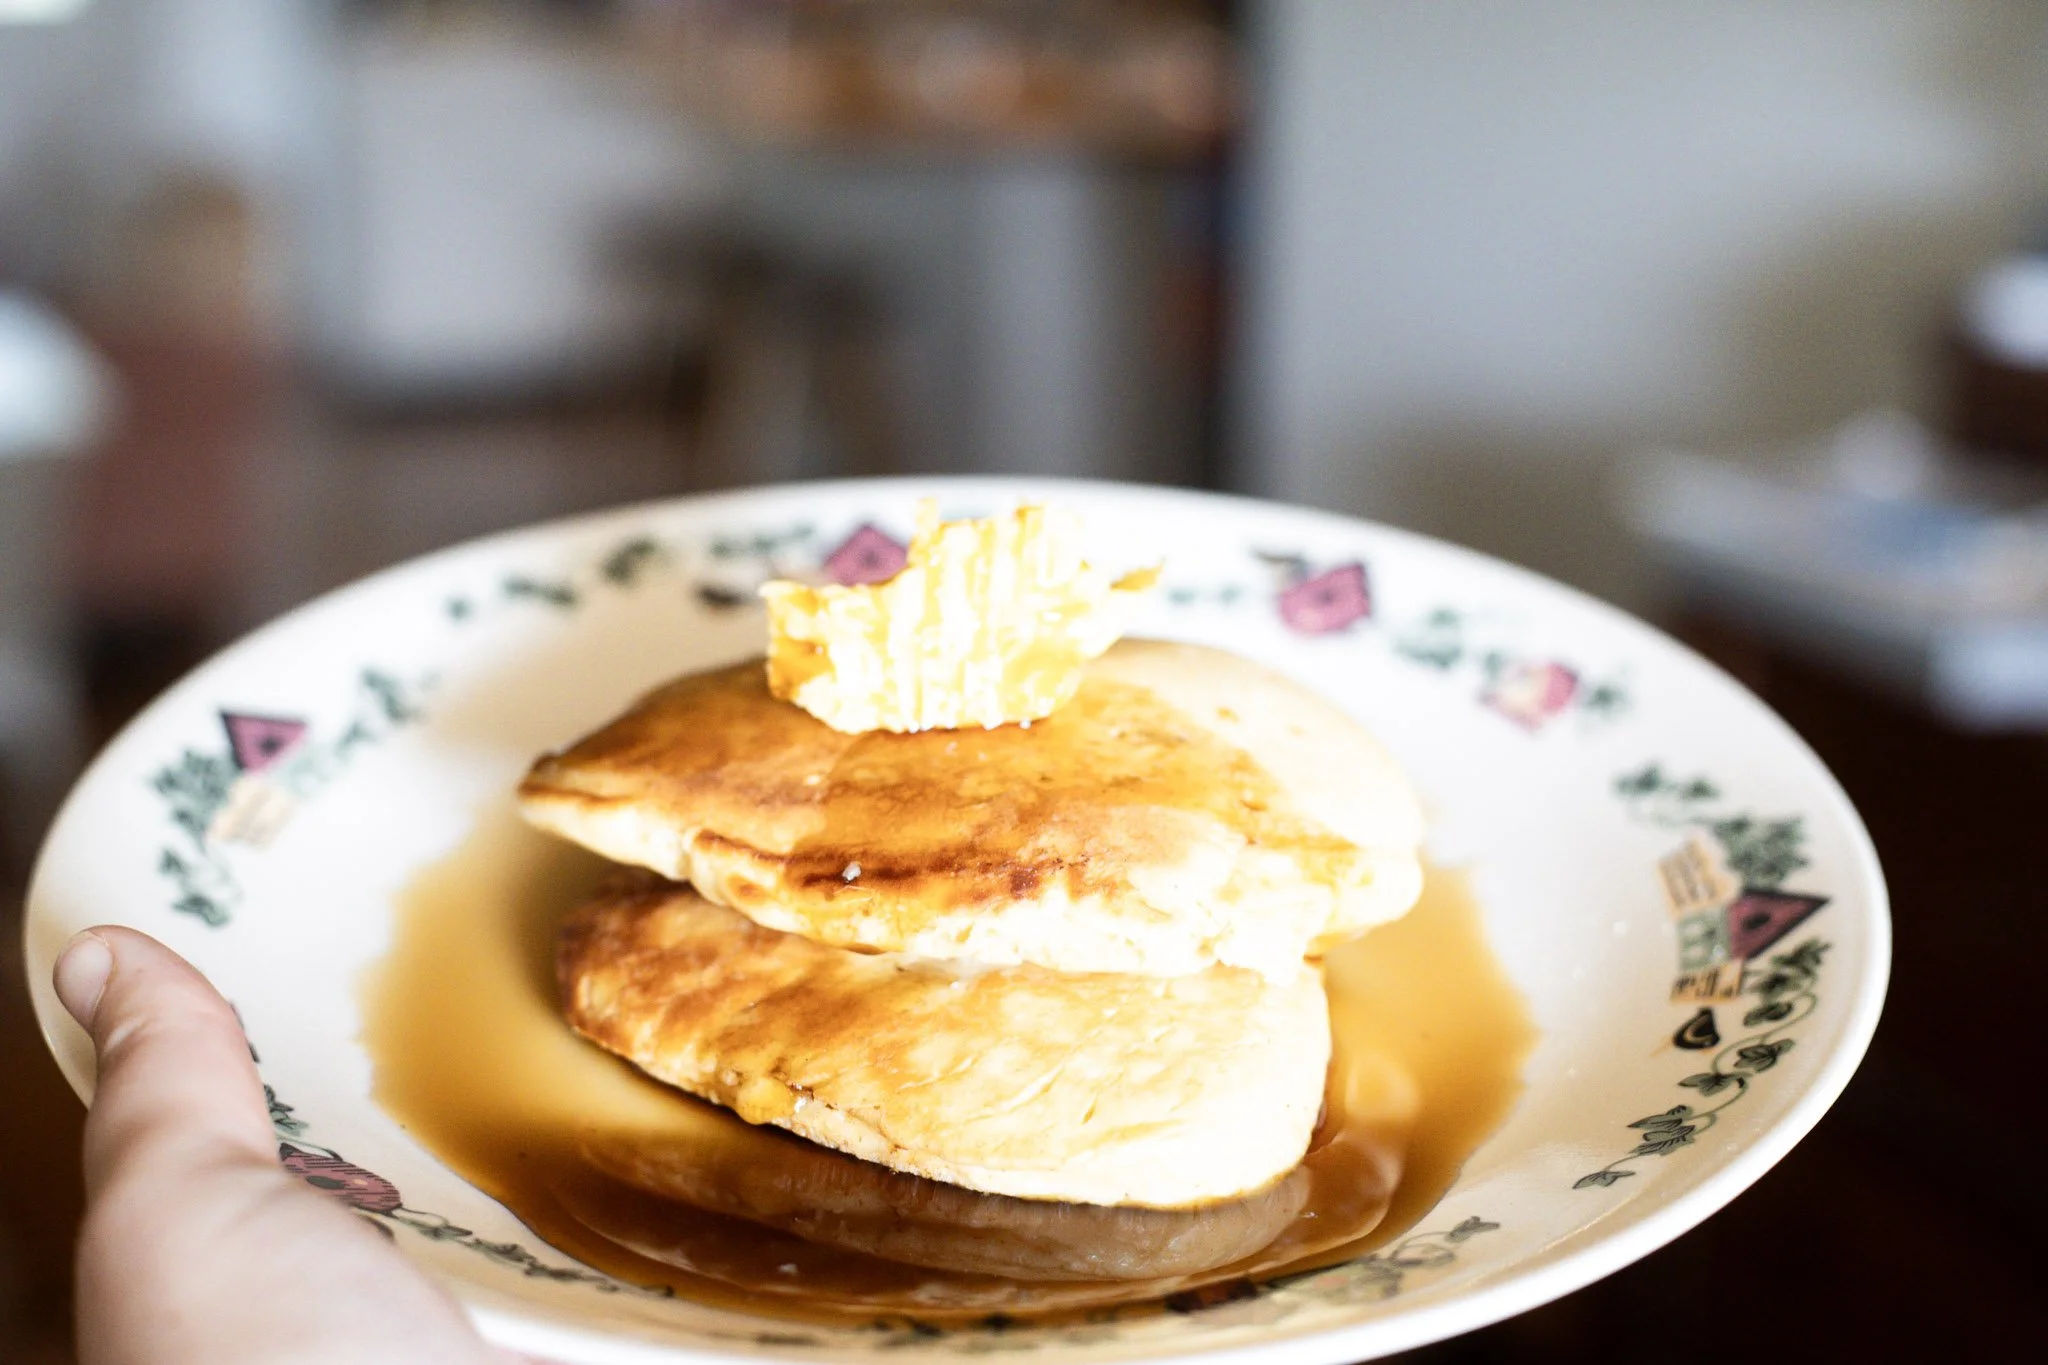
And don't throw away that fresh buttermilk! In my next blog post, I'll show you exactly how to use it by sharing one of our family's favorite recipes for fluffy homemade buttermilk pancakes. Trust me—you won't want to miss that one!