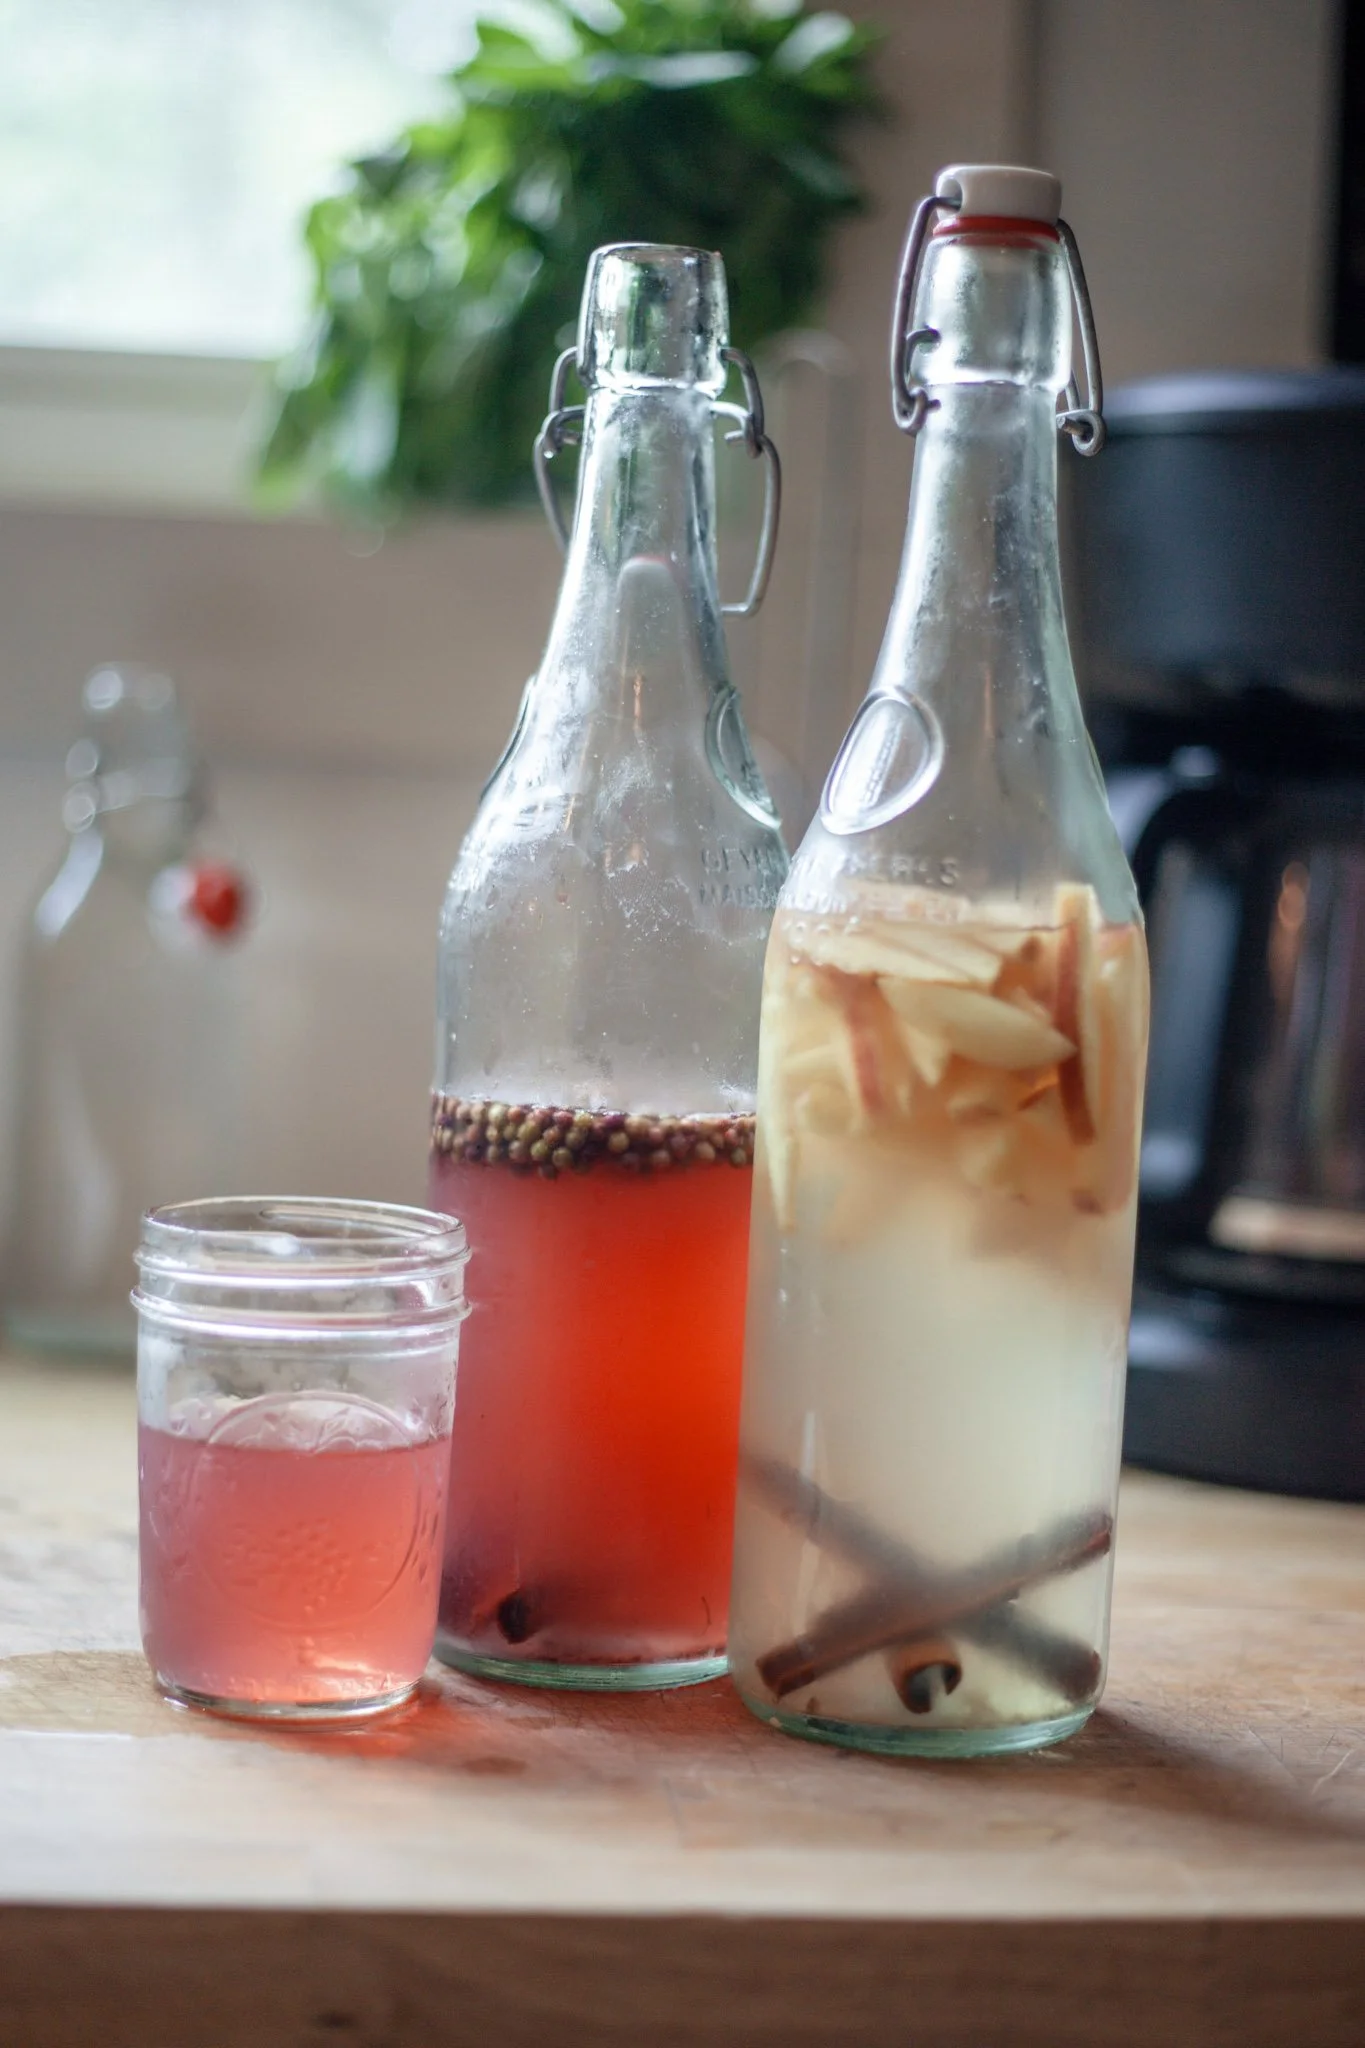
An easy guide to rehydrating your grains, brewing your first batch, and experimenting with flavors.
If you've picked up a packet of water kefir grains from our farm stand, welcome! We're so excited for you to start your water kefir journey.
And if you've just stumbled across this post while looking for something new to make at home, welcome to my new afternoon obsession!
Water kefir is a naturally fermented, lightly bubbly drink made with water, sugar, and water kefir grains. It's a fun little kitchen project that doesn't require much equipment, and once you get your grains going, you can use them batch after batch to make your own homemade water kefir.
Let's get started!
What's Inside Your Packet?
Each packet of dehydrated water kefir grains from Rose n' Thistle Farm contains approximately 1 tablespoon of dehydrated water kefir grains.
Once rehydrated, this should expand to roughly 3 tablespoons of active grains.
Water kefir grains are living cultures of beneficial bacteria and yeasts that work together to ferment sugar water. They aren't actually grains like wheat or oats. They're small, translucent, jelly-like clusters that feed on sugar and ferment it into a tangy, refreshing drink.
The best part? Once your grains are established, you can reuse them indefinitely with proper care. They may even multiply, giving you extra grains to share with friends!
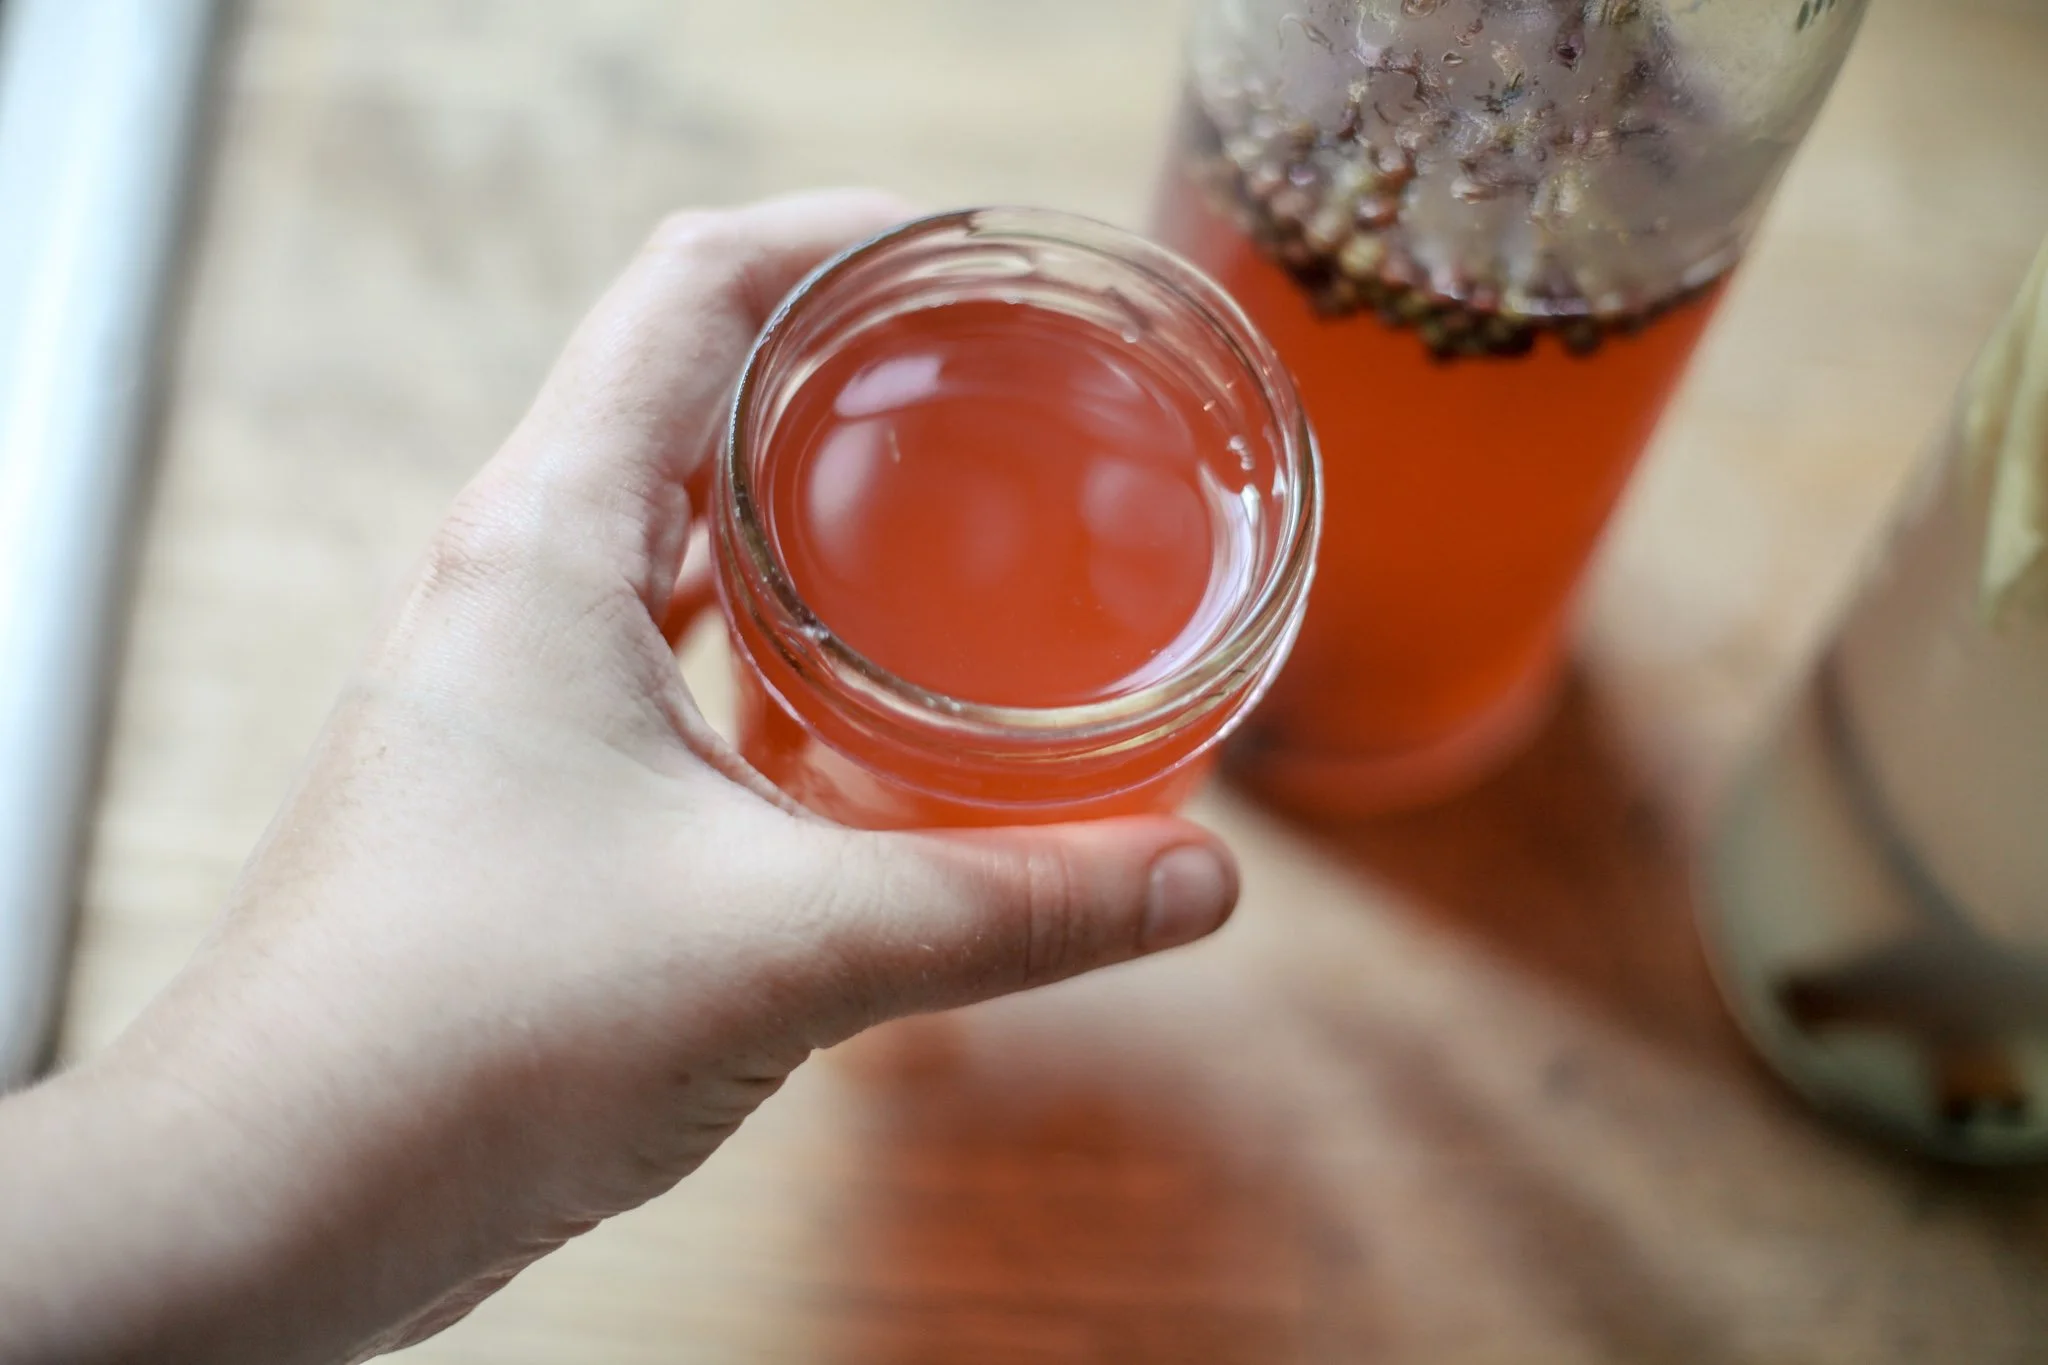
Step 1: Rehydrating Your Water Kefir Grains
Before you can start brewing, you'll need to wake up your dehydrated grains.
You'll need:
1 packet of dehydrated water kefir grains
2 cups filtered or non-chlorinated water
2 tablespoons organic cane sugar
A clean glass jar
A breathable cover (coffee filter or clean cloth)
A rubber band
Instructions:
Dissolve the sugar in your water. If you warm the water to help dissolve the sugar, allow it to cool completely to room temperature before adding your grains.
Pour the sugar water into your glass jar.
Add the dehydrated water kefir grains.
Cover the jar with a coffee filter or clean cloth secured with a rubber band.
Allow the grains to sit at room temperature, away from direct sunlight, for approximately 3–5 days.
During this time, the grains will absorb water, plump up, and begin returning to their active state.
Once they're plump and translucent, strain out the grains and discard the rehydration liquid.
A little patience goes a long way! Your grains may not produce many bubbles during rehydration. That's perfectly normal. They sometimes need a few batches to become fully active again.
Step 2: Making Your First Batch of Water Kefir
Now for the fun part!
Once your grains are rehydrated, you're ready to make your first batch.
The basic ratio:
3 tablespoons active water kefir grains
1 quart (4 cups) filtered or non-chlorinated water
¼ cup organic cane sugar
Instructions:
Dissolve ¼ cup sugar in a little warm water.
Add the remaining water and allow everything to cool to room temperature.
Add your rehydrated water kefir grains.
Cover with a breathable cloth or coffee filter secured with a rubber band.
Allow to ferment at room temperature for approximately 24–48 hours.
As the grains ferment, they'll consume some of the sugar and produce a lightly tangy, fermented drink.
You'll notice the liquid becoming slightly cloudy, and you may see little bubbles forming.
When it's ready, it should taste less sweet than the original sugar water with a pleasant, lightly tangy flavor.
Strain out your grains using a clean strainer. Save the liquid for drinking or flavoring, and return your grains to a fresh batch of sugar water!
You can repeat this process over and over.
Tip: Your first batch or two may take a little longer to ferment while your grains regain their strength. Temperature makes a difference, too. A warmer kitchen generally means faster fermentation.
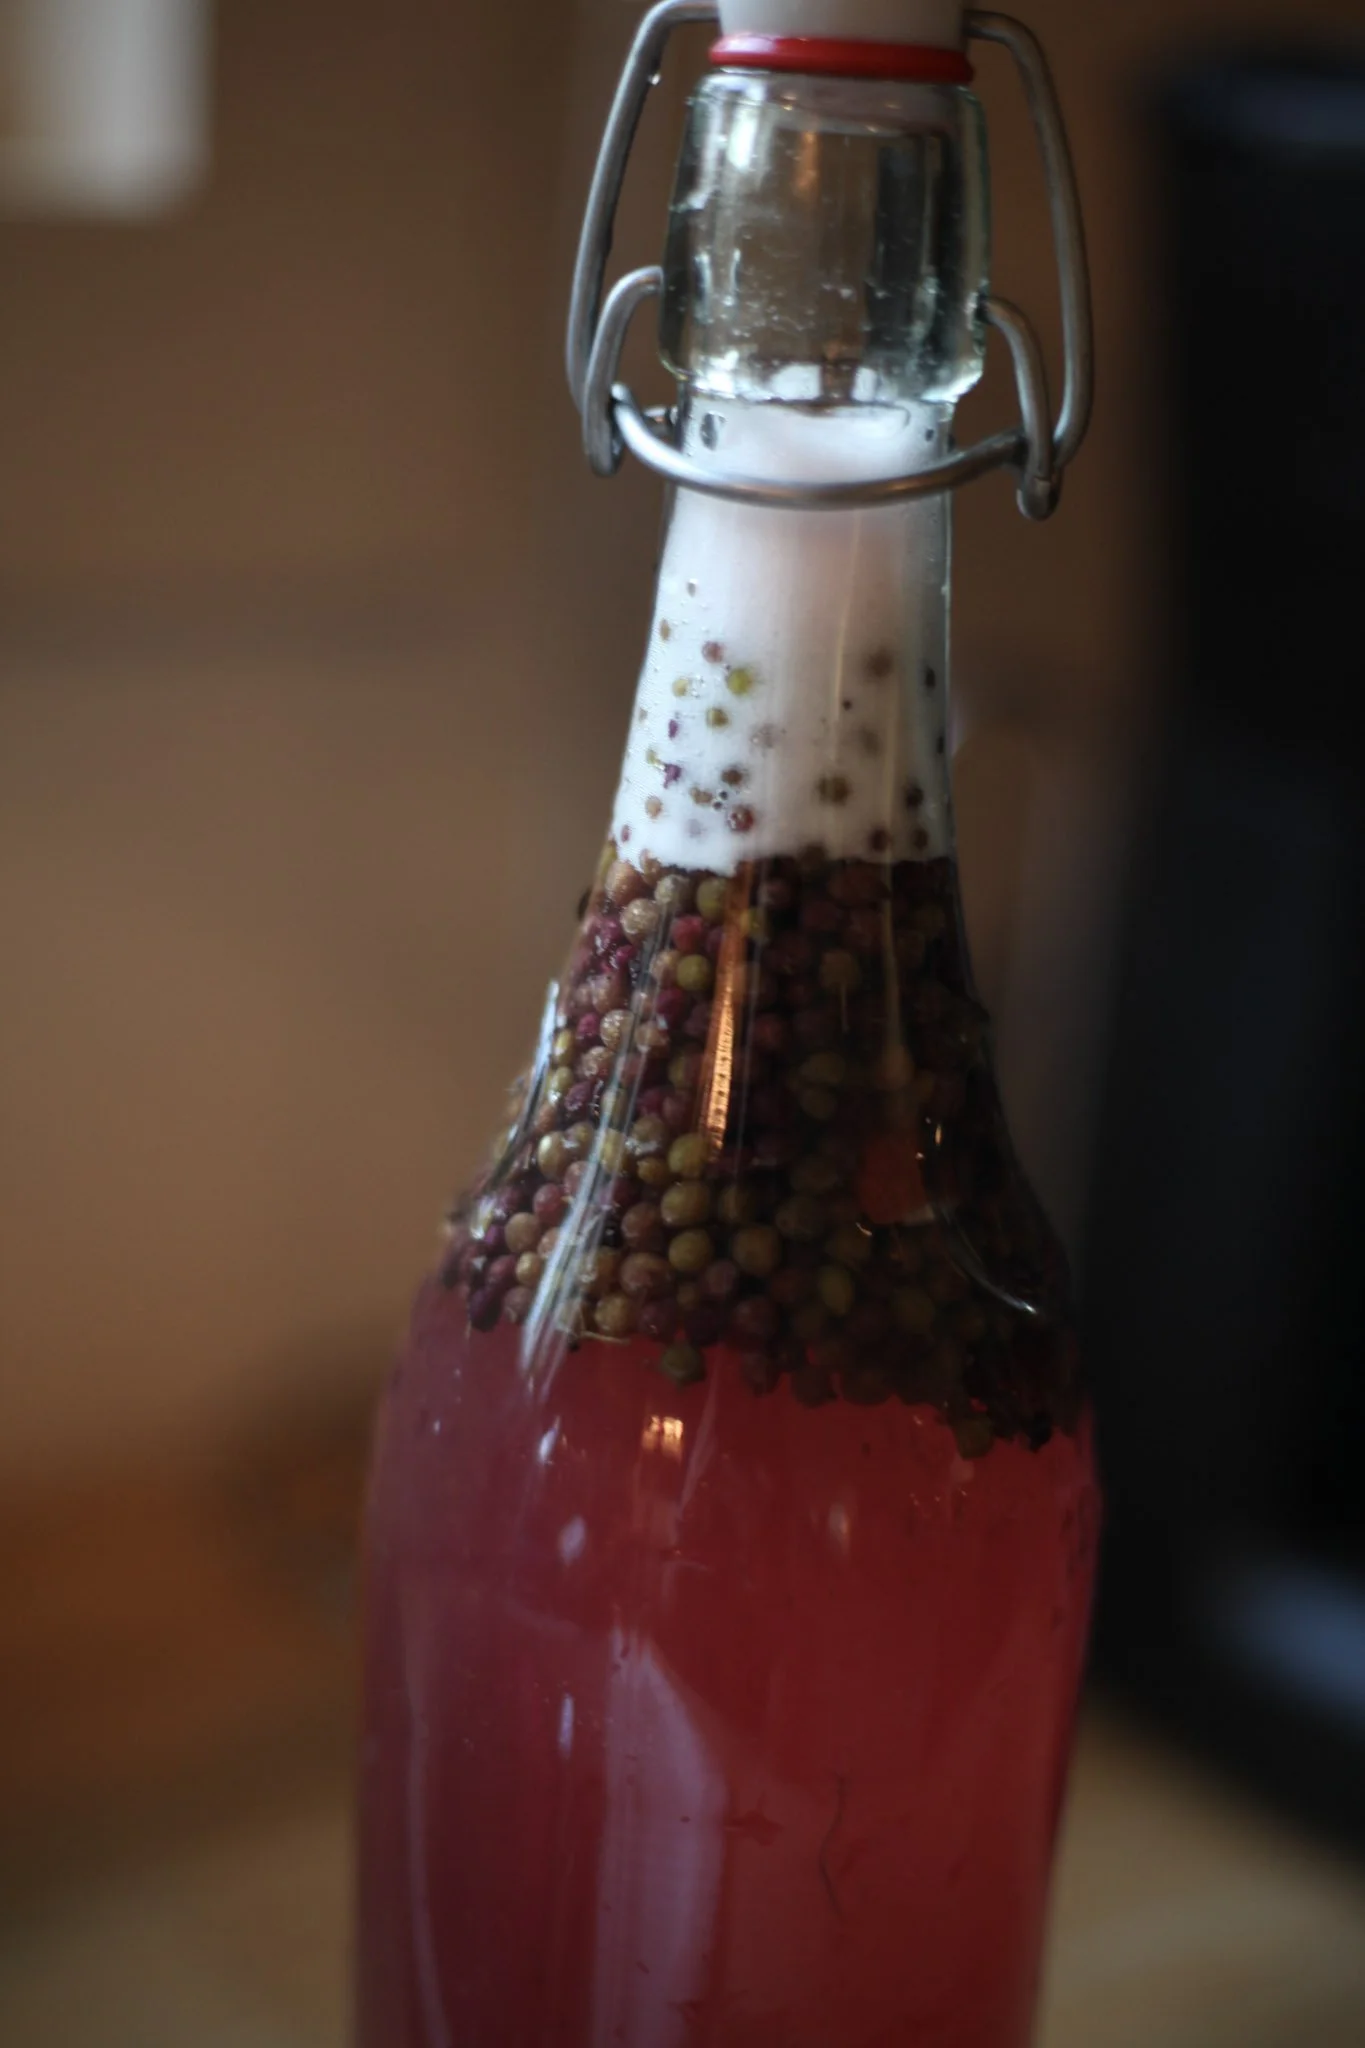
Step 3: Give Your Water Kefir Some Flavor!
Plain water kefir is delicious, but this is where things get really fun.
Once you've strained out your grains, you can experiment with just about any fruit, juice, or flavor combination you can dream up.
Some of my favorite flavor ideas include:
Fruit Favorites
Strawberry Lemonade
Raspberry Lime
Blueberry Lemon
Peach
Pineapple
Blackberry
Something a Little Different
Ginger Lemon
Orange Creamsicle
Cherry Vanilla
Mango Lime
Apple Cinnamon
Strawberry Basil
You can add fruit juice, fresh fruit, ginger, herbs, or other flavorings to your finished water kefir.
And if you want that lovely fizzy, almost soda-like finish, you'll want to try a second fermentation!
Step 4: The Second Fermentation
The second fermentation is where water kefir really starts to shine.
This is an optional step, but it's my favorite way to enjoy water kefir!
After straining out your grains, pour your finished water kefir into clean, pressure-rated fermentation bottles.
Add your desired flavorings or a little fruit juice.
A good starting point is:
2–3 cups finished water kefir
2–4 tablespoons fruit juice or fruit puree, adjusting to taste
Seal your bottles and allow them to sit at room temperature for approximately 12–48 hours.
During this time, the remaining sugars and added fruit sugars will ferment, producing natural carbonation.
You'll end up with a bubbly, flavorful drink!
Once you've reached your desired carbonation, refrigerate immediately.
A few important things to remember:
Only use bottles specifically designed to withstand carbonation pressure.
Leave appropriate headspace according to your bottle manufacturer's instructions.
Fermentation creates pressure, so monitor your bottles closely.
Refrigeration slows fermentation but doesn't stop it completely. Open chilled bottles carefully.
Never leave sealed bottles unattended for extended periods at room temperature.
You may need to experiment a little with the timing depending on your kitchen temperature and how fizzy you like your water kefir.
Caring for Your Water Kefir Grains
One of the best things about water kefir is that you don't have to keep buying new grains!
After each batch:
Strain out your grains.
Prepare fresh sugar water.
Add your grains and start another batch.
A few helpful tips:
Use filtered or non-chlorinated water.
Keep your grains away from hot water.
Use clean glass jars and utensils.
Don't let your grains sit without fresh sugar water for extended periods.
Keep your grains out of direct sunlight.
If you see fuzzy mold or notice an unpleasant, rotten smell, discard the entire batch and grains. Don't try to salvage them.
If you need to take a break from making water kefir, you can store your grains in fresh sugar water in the refrigerator for short-term storage.
A Few Frequently Asked Questions
Will my water kefir grains multiply?
They can! With proper care, water kefir grains often grow and multiply. Eventually, you may have enough to start a second jar or share with a friend.
Does water kefir have to be fizzy?
No! Water kefir can be enjoyed after the first fermentation. The second fermentation is what helps build that lovely carbonation.
Can I use honey instead of sugar?
Regular cane sugar is the best choice for maintaining healthy grains. Honey has antimicrobial properties and a different sugar composition, so it's not recommended as the primary food for your grains.
Can I use fruit juice instead of sugar water?
It's best to keep your grains in their regular sugar-water environment. Add fruit juice after straining out the grains during your second fermentation.
How long does it take to make water kefir?
Generally, you'll need 3–5 days to rehydrate your dehydrated grains, followed by approximately 1–2 days for your first fermentation. After that, making a fresh batch becomes part of your regular kitchen routine!
Happy Fermenting!
If you've made it this far, you're officially on your way to becoming a water kefir maker!
I love the idea of bringing traditional, homemade foods and drinks back into our kitchens. There's something so satisfying about making something from scratch, caring for a living culture, and creating something delicious right at home.
And remember, your little packet of dehydrated grains is just the beginning. With a little sugar, water, and patience, you can keep making batch after batch.
Thank you for supporting our little farm and taking a piece of Rose n' Thistle home with you!
Happy fermenting!
With love,
Rose n' Thistle Farm